Wednesday 31 July 2013

Drawn Thread Work

The colours for this chapter were chosen from the yellow and manilla paper sequence with a highlight of the turquoise blue stamps; see samples on right.
Deciding to experiment with three different weights of fabric, I used a hand dyed muslin, a natural linen and a dyed cotton, the last two of which evolved as I experimented with brusho colours used previously in paper making. 


First exercise: Using the coloured muslin and linen I pulled threads into grid patterns and experimented with loops; see ref 5.1b ,diagonal sequences: see ref ref 5.1b, 5.2c and 5.2d, eyelets; see ref 5,2b and frays: see 5.2d.  

Ref 5.1a and b                                      Ref 5.2.a,b,c,d
While realising the muslin was not the easiest fabric to start this exercise on I rather liked the pucker that resulted.  The linen was rather hard and should have been washed to soften it but the stiff structure prevented undue fraying. Once the first thread was pulled things became slightly easier!  But at one stage I did think an alternative title could be, 'Pulling Strings'!
Second exercise:The colour theme was based around the paper combination of manilla and yellow papers with the touch of the bright blue of stamps.  
For this exercise the linen and the yellow cotton were dyed.  The linen by painting with yellow and blue leaving some undyed ground colour. 
                                                                                              Ref 5.3a and b
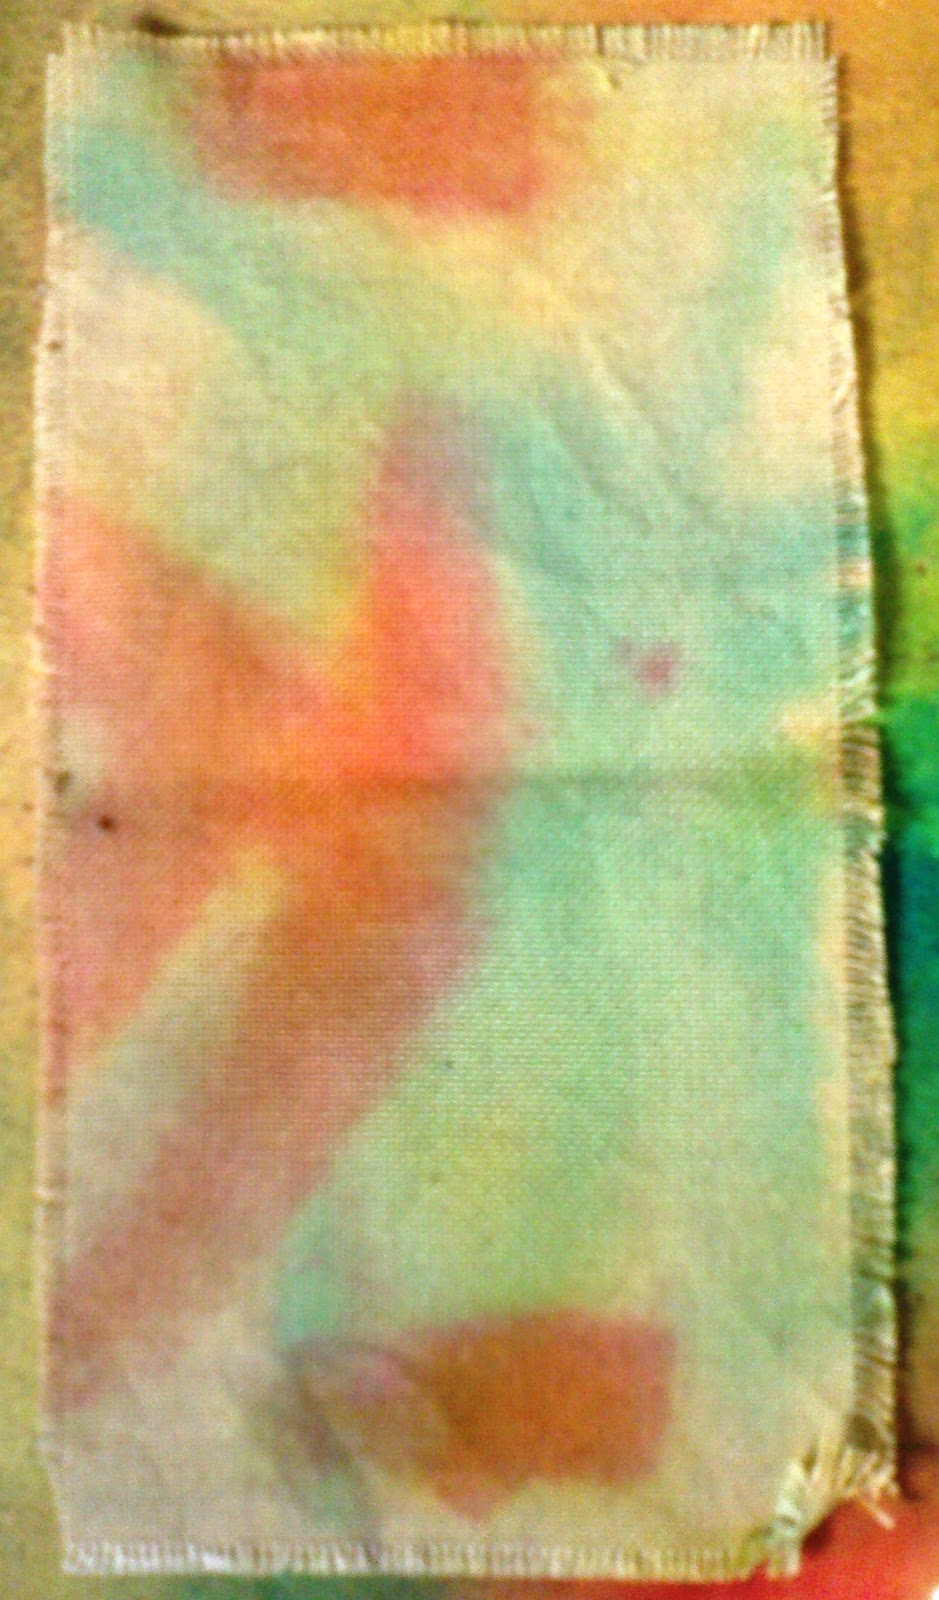
The yellow cotton  was dyed by placing on paper that was given a yellow brusho ground with orange and blue brusho sprinkled and flooded, see right Ref 5.4 a and b


  Weaving and pulling back the threads to make shapes that went in diagonals, straight lines and curves proved to be fiddly and would probably need a touch of adhesive to make the 'g', 'u' and 's' stay in position! 
Ref 5.5a
Ref 5.5a and b
 At the end of this chapter I decided big weaves would be my next ground for dyeing!


Tuesday 9 July 2013

Papermaking


Ref 4.4.1b

Ref 4.4.1a
During the preceding weeks I had collected mail and torn papers into colour heaps thereby hoping to reduce the need for too much dye.


Ref 4.4.2
Establishing myself in the garage - Mike was away singing - I had work tops and access to water and relegated a liquidiser, which we found cumbersome in the kitchen, to becoming part of my equipment store in the garage! Have added to the list of equipment needed for papermaking -  wellington boots...never had so much spashing about since I was a kid!!! Got better with time and found an improving technique by using the deckle the right way round!The splashes reduced.

Ref 4.4.3a

After first efforts on the yellow heap realised that the quantity of how much paper one could produced was more than I had imagined so decided that as I had soaked all paper at the same time I would pulp it freeze it in blocks for use in the future.  It felt better to make a few pieces of paper early on while I was experimenting with each colour.  This allowed time to contemplate results and then decide on what to progress further .  I would also conside which pulp would be enhanced by dyes.  


Ref 4.4.3a
Ref 4.4.3b

Ref 4.4.3c
Thickness was an issue with first sample, see bottom left ref 4.4.3a but as attempts continued it improved although size became an issue!! Sample Ref 4.4.3b, a blow up of item on right of 3a includes inserts of threads.
Ref 4.4.3c you can see designed holes' and geum petals


Ref 4.4.4a
The second trial was using various types of white tissue paper, some with white logos on, and adding a piece o pink tissue paper as a colourant.  Interested in whether the weight of the paper would be an issue the samples shown did not prove to be the best for taking an imprint. Possibly a lack of abilty to layer it thickly enough on the screen rather than a fault of the paper.  The paper was a nice texture but it failed to take an imprint that is discernable in thes e photos.  I would, however, try to use tissue again.  Delighted to find this old fan shape in my box of bygone momentoes, Ref 4.4.b as made me reconsider the idea of grids and possible book covers!
Ref 4.4.4c
Ref 4.4.4b

The plastic foam letters were possibly too soft to make discernable imprint although they could be seen on closer scrutiny!
Ref 4.4.4d
Ref 4.4.4e
Next efforts to encase and fringe threads proved ineffective as well! Threads too large paper too thin


Ref 4.4.5a
Ref 4.4.5b


Next, the blue group as seen in Ref 4.4.1b.  Decided  to use this to trial watermarks, see ref 4.4.5b. 

Oh dear! more ineffective results but tried to  recover the position and played; laminating  and layering with white pulp and flowers Ref 4.4.5c. Also tried to shape the damp paper over knitted sample mould Ref 4.4.5d
Ref 4.4.5c
Ref 4.4.5d
And a last attempt to laminate a patterned piece of tissue paper Ref 4.4.5e, oops not visible I try again later on a different colour - see later!

Ref 4.4.5e

Ref 4.4.6a
Ref 4.4.6b
Now for the grey pulp made from white /grey envelopes and items where black writing was also visible.  This time used wire as an embossing template, Ref 4.4.6b.

Nothing fancy here just worked on trying to achieve consistency and thickness of paper, results Ref 4.4.6c


Ref 4.4.6c

Ref 4.4.7a
The next attempt was white paper and as mentioned in ref 4.4.5d this was used to laminate some blue paper.  then played with flower petals embedding and startched results so paper could be written on.
Ref 4.4.7b

Ref 4.4.8
Realising that I needed to trial some dye samples emphased pink papers with some scarlet Brusho powder and added indigo to the blue pulp.  Made strips of each of these with the white pulp in a horizontal pattern then overlayed with vertical paterrn. The bleeding was predictable and perhaps a new attempt would be to allow each strip of colours to dry before adding next colour.
Ref 4.4.9a
I was coming to the end of the session and decided to mix the three pulps together and add violet Brusho for my next pulp experiments. Ref 4.4.5e is Ref 4.4.9 revisited  with more success!
 With these papers the view in Ref 4.4.9c shows the embossed item show on right in 4.4.9b

Ref 4.4.9b
Ref 4.4.9c
And for my last pieces shaping appears to be becoming more effective! The shell in Ref 4.4.9d was tucked away in a cupboard - loved the detail from the ridges but also the straight edge- could this be book cover material?  Ref 4.4.9e was damp paper placed over wooden meat skewers!

Ref 4.4.9d
Ref 4.4.9e

So an exhausting, frustrating but ultimately satisfying chapter in which I learnt alot and have two new concepts to add to my inspiration board , the fan and the shell - in paper.