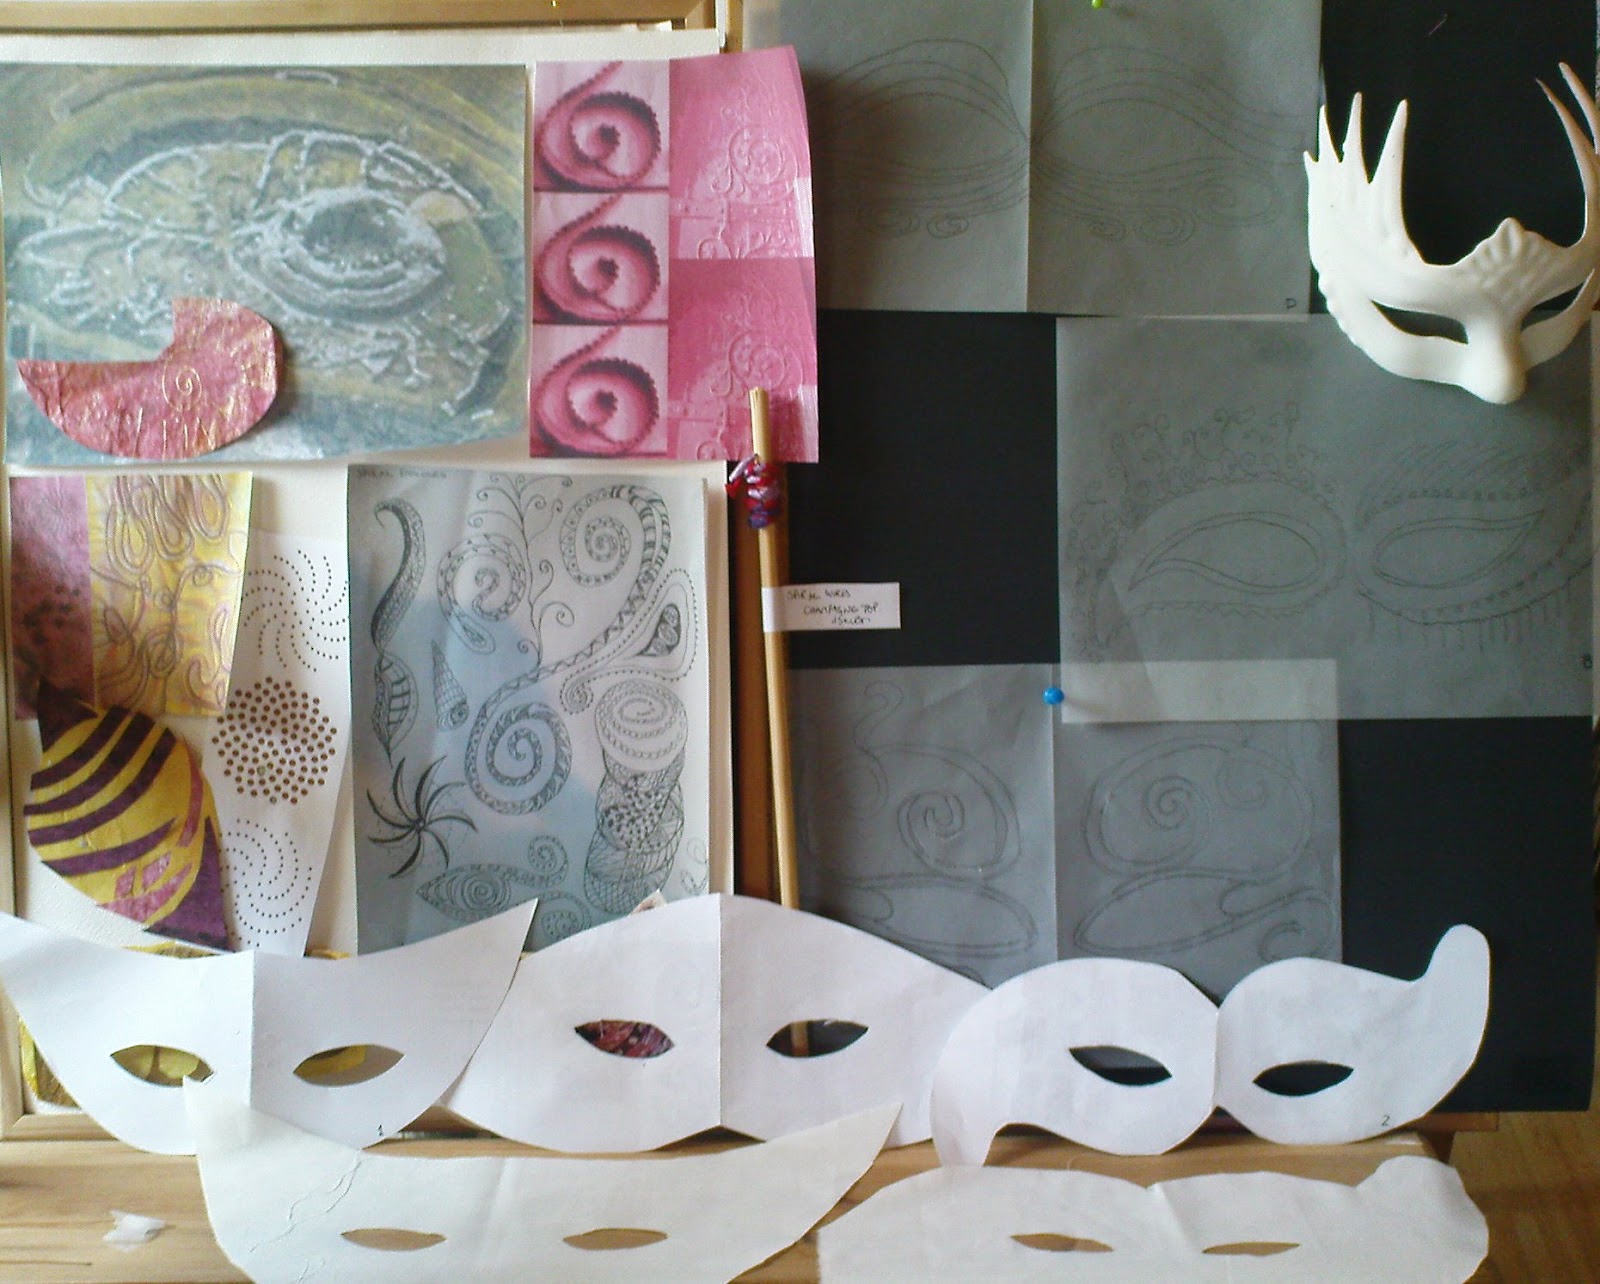
 To maintain the momentum of musing over various design elements and not taking any one of these in isolation I set out three workboards.
 SHAPE, SIZE, DESIGN SOURCE Selected three shapes and three designs to play with felt I would see what problems/ practical solutions would be faced in the final piece. The first design to be tried on each shape was the paisley.


The colour and detail board, also incorporated references to Turner's Moonrise, http://www.tate.org.uk/art/artworks/turner-venice-moonrise-d32126 and a book on casalguidi embroidery, Embroidery Techniques, Via Laurie, Search Press.
Doing the colour and detail board had a play with one of the mask images on gimp:
 The details of the design actual go off the edges of this shape, but I didn't have a steady enough hand to draw those in on the computer! The aim of this image was to consider if the colour changing over the mask would work and whether the idea of using the threads either in soluble fabric or bond a web would be a background option for detail.
 While not actually completing the process put threads on the soluble fabric ( top) and on bondaweb bottom. Ref 3.10.7b


At least this was a way of reviewing each shape and design before making a decision. Felt colours needed to be better graduated across the mask. My notes of things to consider was getting ever longer!
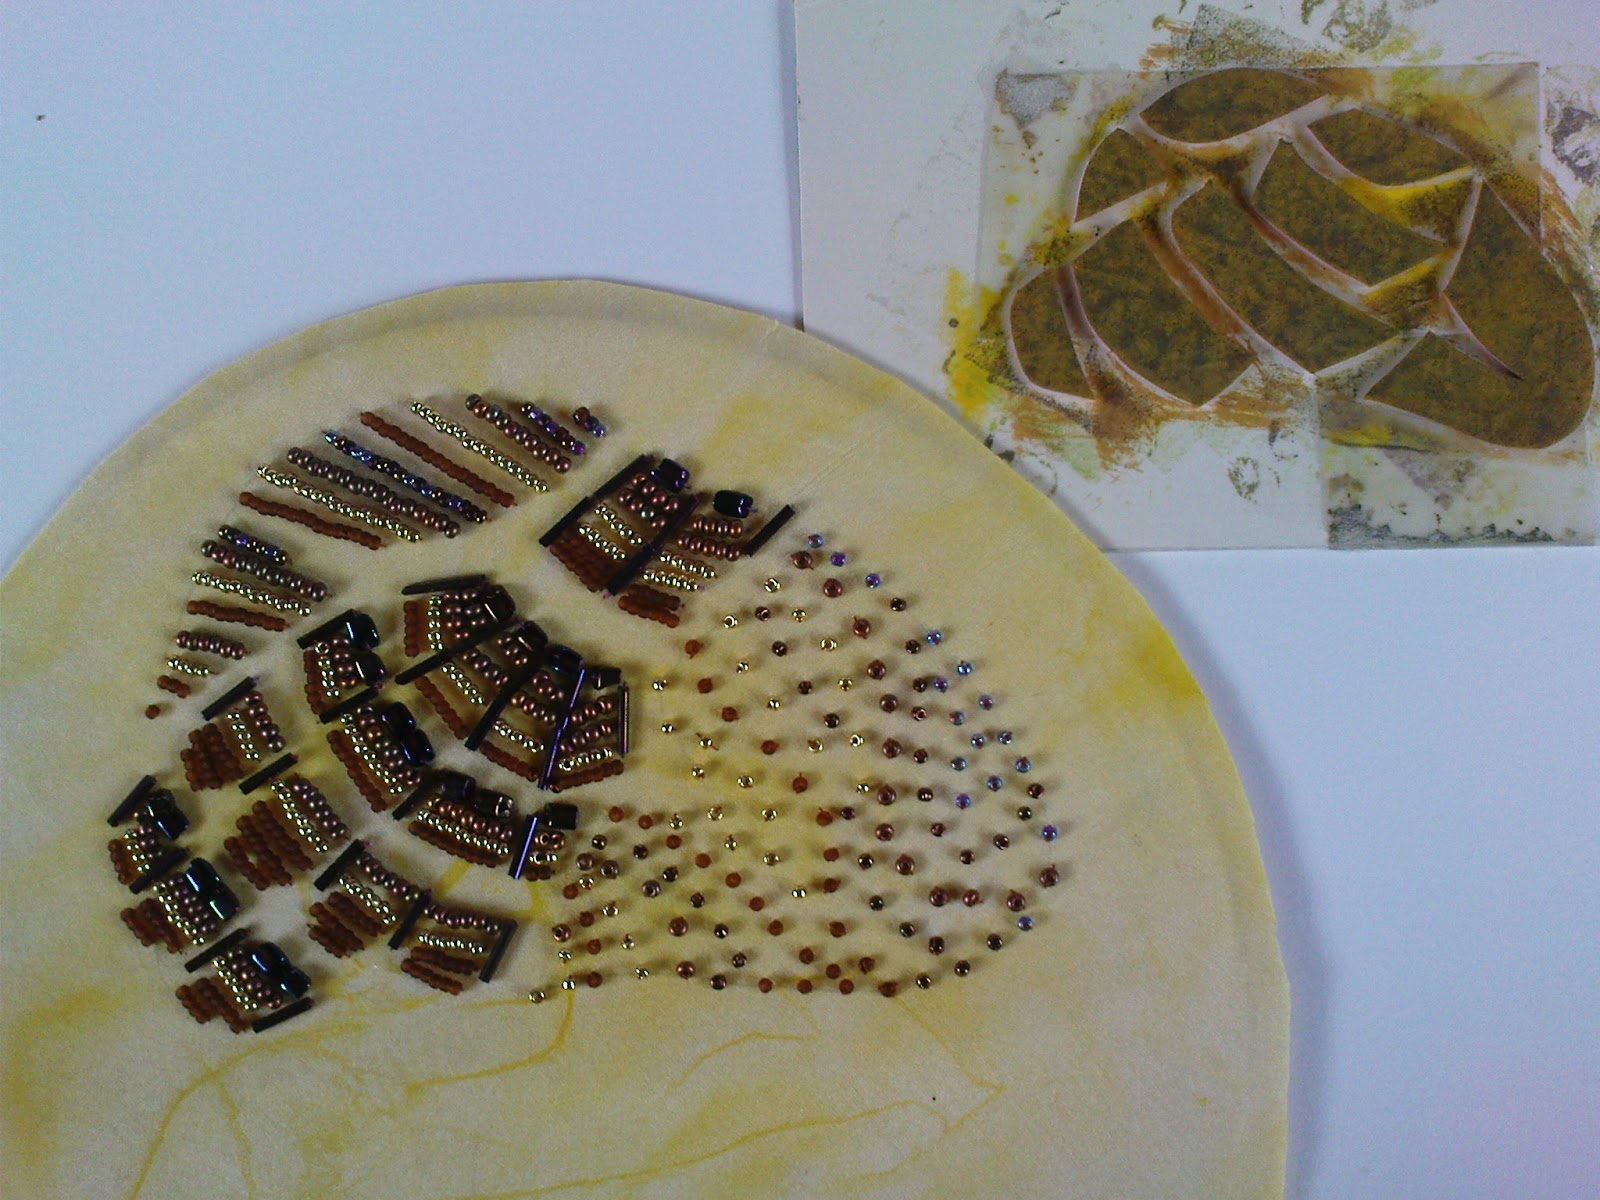
Ideas for some more design detail had been done in earlier chapters- particularly 4 and 5 but while going through samples found a small unfinished section, see below, which was started a few years ago after a workshop with Pauline Verrinder - it is for a necklace encrusted with bead wraps, in the Fibrefusion book Evolutions. Adding to the original piece thought it could be used to provide a more textured cording detail - think it needs the beads and a bit more twist and fray.

Realising I needed to work on fabric rather than paper and as a full mask rather than small samples wanted to consider
TEXTURE, DIMENSION, SURFACE Experiments
 But that in itself started me thinking - could cutout work be a solution- using covered wire on the braids and coils to draw the design and make more openings to emphasis the line . I could use the colour idea shown in 3.10.7 as a background 'wash' that would 'edge' the braids, coils and beading? Could there be merit in this idea as the design would appear to emerge and provide the shape focus, this would allow the mask to be flexible and mould round the face? Would a butterfly appear from the cocoon of wooly, gimpy thoughts? Would this be considered an easy option? But perhaps time to stop and ask advice!
While considering the way forward decided to make a piece of free machine embroidery and play with some ideas and see if the fabric would hold the detail and also give space to add stitch and bead detail. Although the density of the fabric does hold the wired scrolls it could perhaps do with an additional backing layer for just a bit more support if bead detail is added. The sample below did however mould well round the face


Ref 3.10.7

Ref 3.10.7a


By putting the tracing paper over these pieces could see the colour effect that would be produced. Next stage saw these on the shape by layering in gimp programme Ref 3.10.7c

At least this was a way of reviewing each shape and design before making a decision. Felt colours needed to be better graduated across the mask. My notes of things to consider was getting ever longer!
Ideas for some more design detail had been done in earlier chapters- particularly 4 and 5 but while going through samples found a small unfinished section, see below, which was started a few years ago after a workshop with Pauline Verrinder - it is for a necklace encrusted with bead wraps, in the Fibrefusion book Evolutions. Adding to the original piece thought it could be used to provide a more textured cording detail - think it needs the beads and a bit more twist and fray.
Ref 3.10.8

Realising I needed to work on fabric rather than paper and as a full mask rather than small samples wanted to consider
TEXTURE, DIMENSION, SURFACE Experiments
- first experiment I used machine stiching as design feature and possible support for wires. OOPS initial idea was to put design on stitch and tear. First attempt rather wobbly.
- Next attempt put in twin needle the line wasn't wide enough, would need to get wider twin needle
- and then forgetting that I was stitching on reverse had a zigzag stitch on the front. Maybe I was trying too many new techniques, where previous ones in Chapter 4 had provided succesful. Back to drawing board...
The other aspect that had became apparent was that the fabric needed to take both the weight of details on the body of the mask and also, where the design went off the mask. Then overwhelmed by the number of shapes, designs and texure options I said to myself cut it out, calm down!!!
Ref 3.10.9
 But that in itself started me thinking - could cutout work be a solution- using covered wire on the braids and coils to draw the design and make more openings to emphasis the line . I could use the colour idea shown in 3.10.7 as a background 'wash' that would 'edge' the braids, coils and beading? Could there be merit in this idea as the design would appear to emerge and provide the shape focus, this would allow the mask to be flexible and mould round the face? Would a butterfly appear from the cocoon of wooly, gimpy thoughts? Would this be considered an easy option? But perhaps time to stop and ask advice!
While considering the way forward decided to make a piece of free machine embroidery and play with some ideas and see if the fabric would hold the detail and also give space to add stitch and bead detail. Although the density of the fabric does hold the wired scrolls it could perhaps do with an additional backing layer for just a bit more support if bead detail is added. The sample below did however mould well round the face