Showing posts with label stitch. Show all posts

Monday, 5 May 2014

Paper relief into fabric relief

Deciding on five photos from Chapter 3 where paper had been used to interpret surfaces I felt it was vital that I should use a wide variety of fabric finishes explored in chapters  5, 6 and 7  to give me an opportunity to consider possibilities for final samples on landscapes.
Using my original photos and also using computer  embossing programmes to enhance them I decided the best bet for ensuring variety was to think through some ideas of storyboards before I started stitching. Notes and fabric were selected and five story boards surrounded me with variations of fabric selection on each board...this is what followed:
 Sample 1 Textured sample board - granite/quartz rocks
Ref 5.8.1

Fabric sample a) the fabrics appealed to me; nylon, chiffon, polyester, felt and slubbed linen.  The result of layering the top three three fabrics with the chiffon in the middle encouraged the idea to quilt the quartz lines of the stone. The 'tramlines were then cut open and distressed, to reveal the 'quartz' - or 'solid sunlight' in the words of George Wyllie.
Ref 5.8.1b
Fabric sample b) discarding the felt a sandwich of thread thrums was placed between two layers of chiffon and the linen. Stitched in place the chiffon was then cut away and the linen hand stitched to replicate surface pattern of the granite.
Ref 5.8.1 a


Sample 2 Textured surface board, chalk 'shell' fro Coral Beach, Isle of Skye
Ref 5.8.2


Fabric sample a)Taking the printed cotton and the silk organza strips a loose machine stitch was worked over the strips allowed me to gather the fabric.  This was then embellished with gimps and perle thread to replicate the 'worms' in the original shell.  Fabric sample b) using narrow tucks I gradually turned the fabric to try to get a a radiating pattern which sadly didn't work it looked far too angular despite trying the fabric into curves as I stitched!

Ref 5.8.2 a

Ref 5.8.2b


Fabric sample c) thought a simpler format might be a better option so cut a circle of felt and the zigzag stitched string to give the effect, not sure if I like right or wrong side best!

Ref 5.8.2c(i)
Ref 5.8.2c(ii)

Ref 5.8.3
Sample 3 Textured surface board strata Isle of Skye
Ref 5.8.3a
Fabric sample a) using a range of fabrics from cotton muslin, calico through to linen and jute I wanted to explore changing scales of fabric weave to echo the character where larger stones existed at the top of a soil structure rather than as per norm going down to bedrock. Decided to insert some small pebbles from the reverse
Ref 5.8.3b
Fabric sample b) using a silk noile the concept of obtaining a ruched surface for further stitch work entered into mind, hence the shibori tied pipe on the right of the sample board photo.  Used a range of beads, seeds and string/linen thread to give added texture to the shibori surface.


Sample 4 Textured surface board, Sandstone wall Arbroath Abbey
Ref 5.8.4a
Ref 5.8.4
Fabric sample a) cotton fabric was layered on top of fleece to provide a quilting surface. Having coloured some tyvek with oil pastels I then used a soldering iron to distress the tyvek surface.  This was then machined on to the layered fabric with an outline stitched added below the shaped tyvek before the process was repeated three more times.
Fabric sample b) using a cotton base layer, melted nylon was added before added a distress linen layer where threads had been withdrawn. threads were then knotted to pull threads together. finally knotted threads were added to give additional texture.
Ref 5.8.4b(i)


Ref 5.8.4(iii)

Ref 5.8.4b(ii)


Ref 5.8.5
Sample 5 Textured surface board, conglomerate stone, Lost 'beach', Strathdon

Ref 5.8.5a(i)


Ref 5.8.5a(ii)


Fabric sample a) four layers of cotton and linen fabric were layered together and machine stitched shapes were worked to replicate the relief patter of the rock.  The shapes were then cut away and distressed by rubbing.  The surface was then machine stitched to add interest and depth.


Ref 5.8.5b(i)
Ref 5.8.5b(ii)
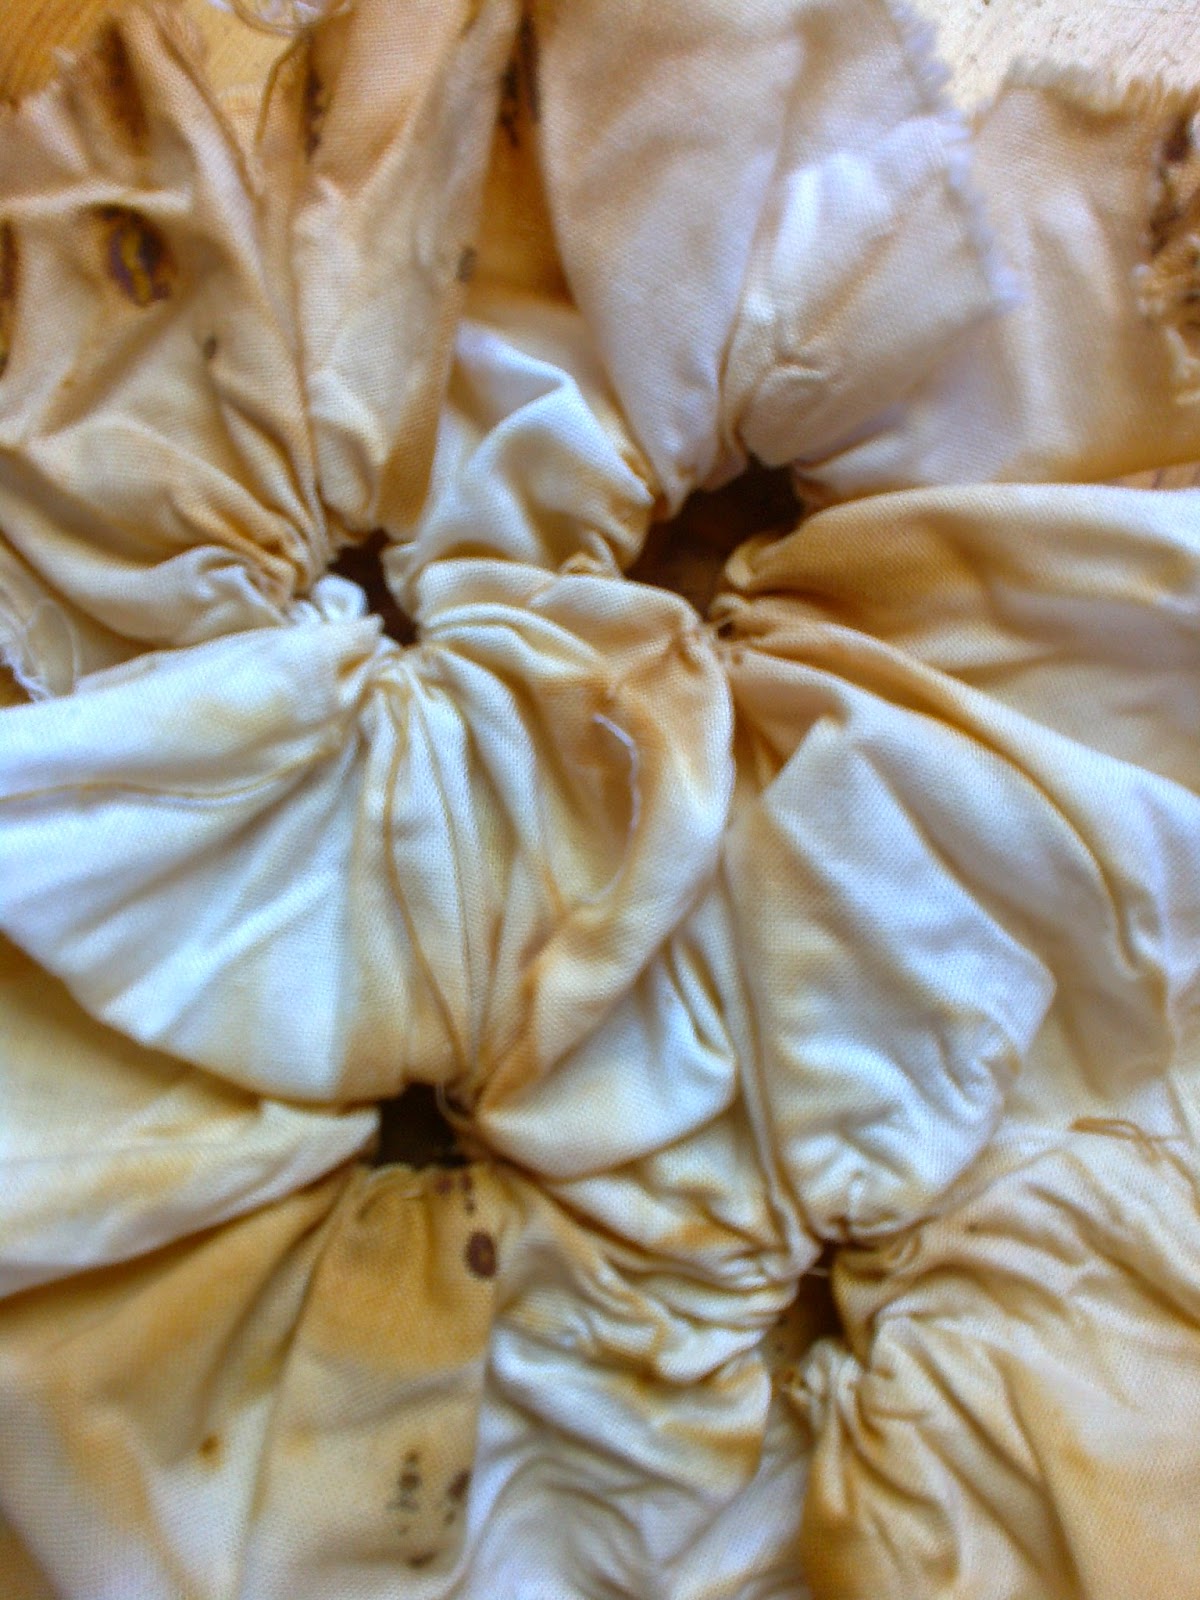
Fabric sample b)  Using some rust dyed calico I replicated the tissue paper samples by gather three circles  by hand. The images show front and back with an additional embossed image.
Ref 5.8.5b (ii)


Thursday, 14 February 2013

Resolved Samples - revisited

The review of all the Modules done to date was a stimulating exercise helping to focus my mind on the prospect of three resolved samples! Certain aspects that needed more work had stayed in my mind and helped form my choice of three patterns; curves, scrolls and paisley. While using pin boards to collect reference points for each Module the method encouraged a wide and diverse storyboard and I felt the need for more specific thoughts of design ideas. Working boards/sheets became an important tool, before powering ahead with sewing samples and hoping for the best.  Drawing is not my best point, so the cut and paste montage of key pictures and words took the panic out of the exercise.  It will also give me practice of a composite sheet required for Chapter 11
Resolved sample 1 Curves

when doing the Fibonnacci sequence in Module 2 Sian encouraged considering  'cut in curves', rather than the straight lines used to produce the egg, shown on right:

Using a yellow felt with a red textured overlay a mixture of fabrics were chosen  and interwoven to give a variety of  sheen/dull, textured/flat character. A variety of stitches were applied to hold the pieces in place and give movement to the piece.  Dyed squash seeds were used to balance the design. 
 An oval shape made from felt framed the final piece.  Sian encouraged me to revisit the framing.  The frame seemed to overwhelm the piece, after a play decided to turn piece upside down and just put a background of the topsurface behind it - a white board seemed to be too much of a contrast.
Resolved sample 2 Scrolls
The scrolls on the door of Lichfield Cathedral and corrugated cardboard scrolls that encouraged Gimp play on the computer are the basis for this sample:
A hand dyed lightweight silk was bonded to felt, with the heat giving a slightly textured look to the silk. Remnants of machined stitched hand made papers from Module 1's resolved sample were bonded on top and the scrolling began with hand made and machine stitched cords.  A variety of hand counching and other embroidery stitches, scroll, bullion knots were used to embellish the design.  Spiral wire, hand beaten wire coils and beads were added. Work in progress


The final sample was cord edged and mounted on felt.  Encouraged by Sian to add some of my thicker cords this is the result.  As I did not want to hide previous detail decided to spiral out and present a third dimension.

Resolved sample 3 Paisley
The association of wings and stitches in Module 2, and the paisley image in earlier chapters of this module gave this shape priority for further development.
Chiffon was bonded to hand dyed muslin for the background - it was a disadvantage when taking photos as the  chiffon had a shimmer that distorted the colours, but ideas of cutting this back once the sample had been stitched were considered a possible solution if the final sample was still dominated by the shimmer. 

 The final sample was mounted in a cardboard frame covered with hand dyed felt.  Some of the chiffon was cut back, however, feel the flimpsy cut shape at bottom right edge should be tucked behind the frame  - it looks rather weak and doesn't add to the piece! It was becoming an exercise at knowing where to stop and the phrase, less is more, kept coming to mind!
  With Sian's comments on the framing having resonance with my own concerns this piece was also revisited.  The results show a less formal piece.  The piece on the right seems to be gaining my vote.  It uses a lighter weight of cotton than in sample and seems to hold the eye for longer.


The lessons learnt in revisiting will be ones I won't forget.  Making the frames had been awkward not least making an oval shape, but found a wonderful tip on how to draw an eclipse with two pins, a piece of thread and a pencil.  In making the oblong frame I thought I was home and dry, the card was pre cut, but decided to dye the felt as the colour was not 'right'.  No need to let you guess, the felt shrunk and had to keep trimming the frame...something should have told my brain to rethink at that point!!

Thursday, 29 November 2012

Fabrics and Threads

 In the last chapter, Ref 3.2.2a and 3.2.2b I had started to sort out threads that existed in my storecupboard it was now time to do the same with fabrics.  
For this exercise I included the Deb Menz 'Colorwork' colour cards to try and keep me on track! See 3.3.1a and b below
A range of samples of white silk and cotton fabrics were selected to dye and I also included small squares of fabric dyed for Module One,shown at bottom of 3.1.1a and b.  Using dip dyeing and random dyeing techniques the samples, shown in the centre of each picture, show the results also including threads dyed at the same time. 
Concentrating on pinks, yellows and greens, the pinks were the most success and greens the least, see the turqoise (nice colour but not what I had tried to mix)that appeared on 3.3.1b third from bottom on left! 
Wetted fabric seemed to take colour best. I wish I had taken pictures of the fabrics before it was rinsed as the colours seemed more true to my hopes- maybe next time I won't rinse all of the fabric!
Ref 3.3.1a                                                                                                                                                         Ref 3.3.1b
Before doing monoprints on paper (from the last chapter) and fabric I had a play with some ideas of spirals with Gimp programme.  Sian had sent a great set ofcomputer enhanced pictures of one of my spirals from the last chapter, also, a recent trip to see some Pictish stones at St Vigeans had inspired me. As my hand was still sore it seemed a perfect time to revisit spiral designs before getting into the process of monprints, which I recall needed one to move smoothly and at speed!
            Ref 3.3.2a                                                   Ref 3.3.2b
Ref 3.3.2c Celtic cross at St Vigeans

These images show 3.3.2a, top image; centre of Celtic cross(3.3.2c), the middle image;a footprint (found when removating our house) perhaps a hint of paisley and the bottom image; paisley design which comes from my doodle page: ref 2.  In 3.3.2b the left image; my earlier work in the module ref 1a, and the right image;corrugated model 3.2.8a.
Here are the results after further play. The designs were printed onto transfer paper then heat set onto fabrics, interesting to see the colour change of above designs on the fabrics.
  Ref 3.3.3a                                                                                                                                                             Ref 3.3.3b
Printed on dyed green cotton                  Printed on dyed beige cotton                                                                          
                                                                                                                                                     

Ref 3.3.3c                                           
 Printed on hand dyed purple muslin


                                                        Ref 3.3.3d
                         Printed on hand dyed olive muslin
Now to the monoprints. I decided to print papers first and then with colour palette refreshed and fabric medium added, and eventually an irredescent medium added, continued onto the fabrics.  Hoped to get the maximum out of the colours but realised there was still more left on my screen so did some threads as well!
Have had problems with my camera 'speaking' to my computer so these colours look a bit unrealistic, hope to get problem sorted and my cameraphone back in action.
                                   Ref 3.3.4a paper, helix and paisley patterns                Ref 3.3.4b fabric, wheels, scrolls and paisley
                                
                            Ref 3.3.4c  papers on left fabric on right                   Ref 3.3.4d fabric
                                                                            Ref 3.3.4e Fabric printed then flooded - polyester tile print