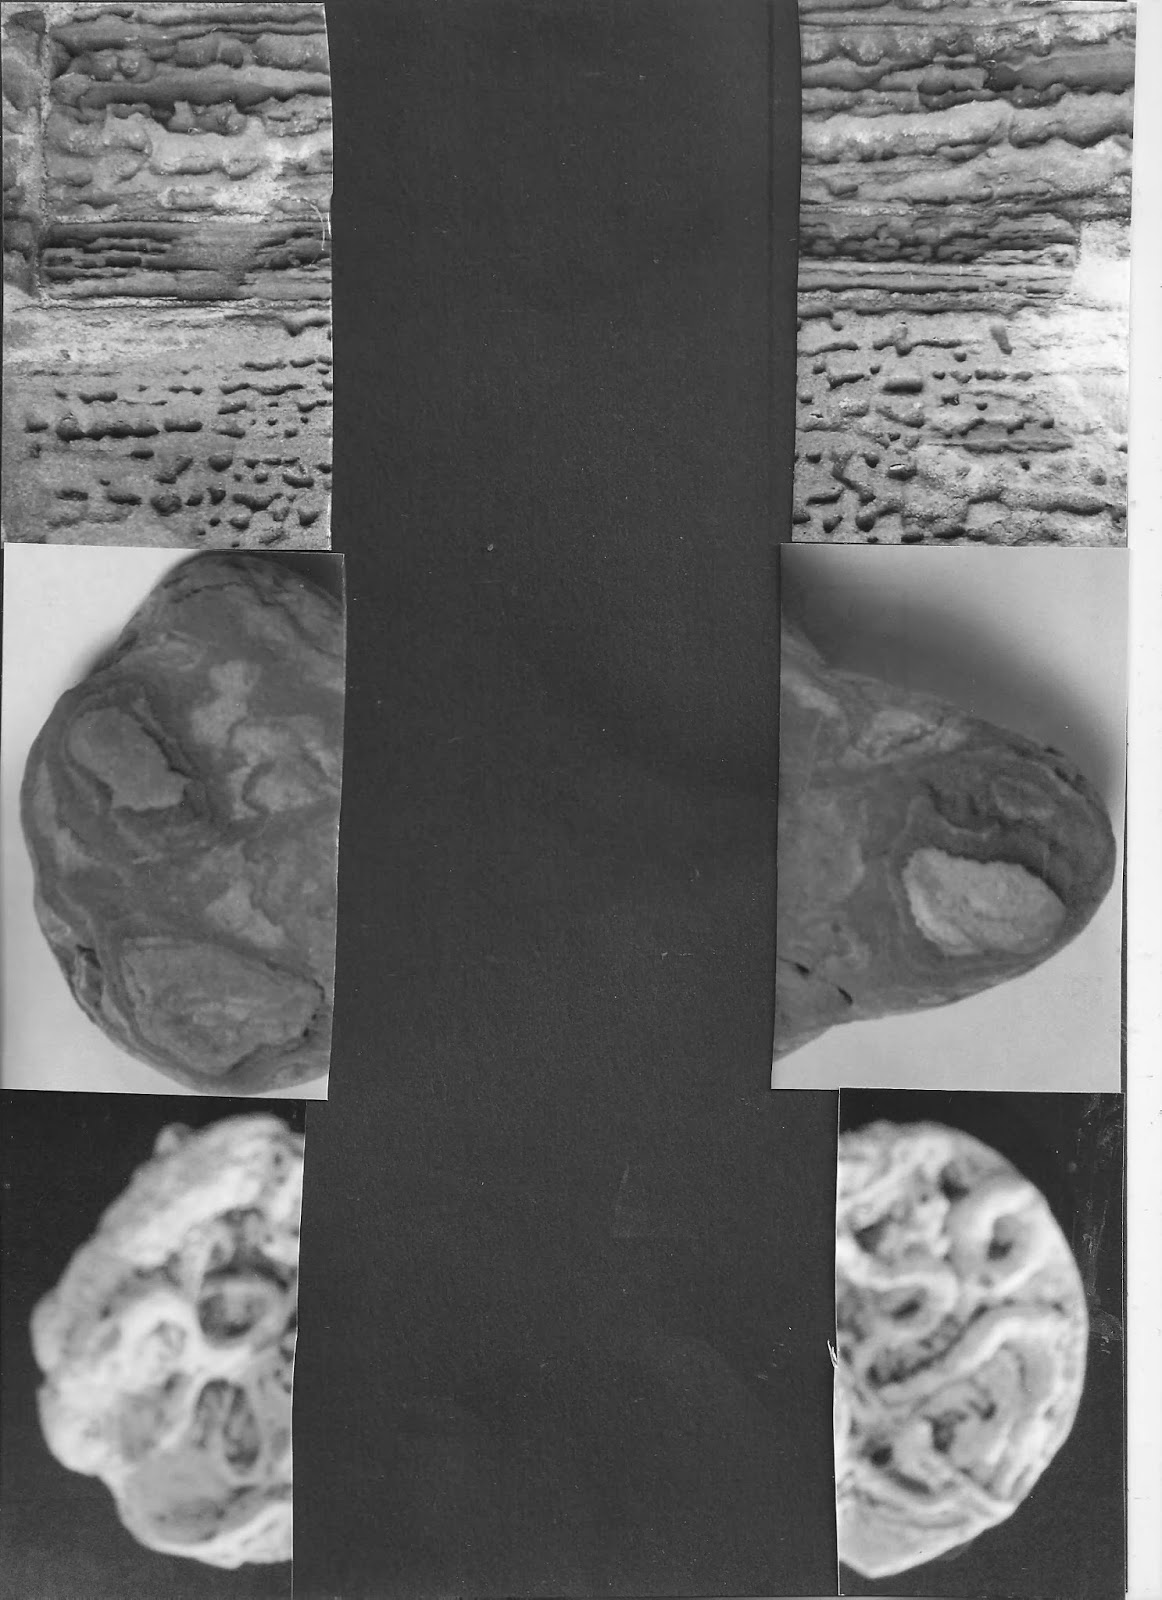
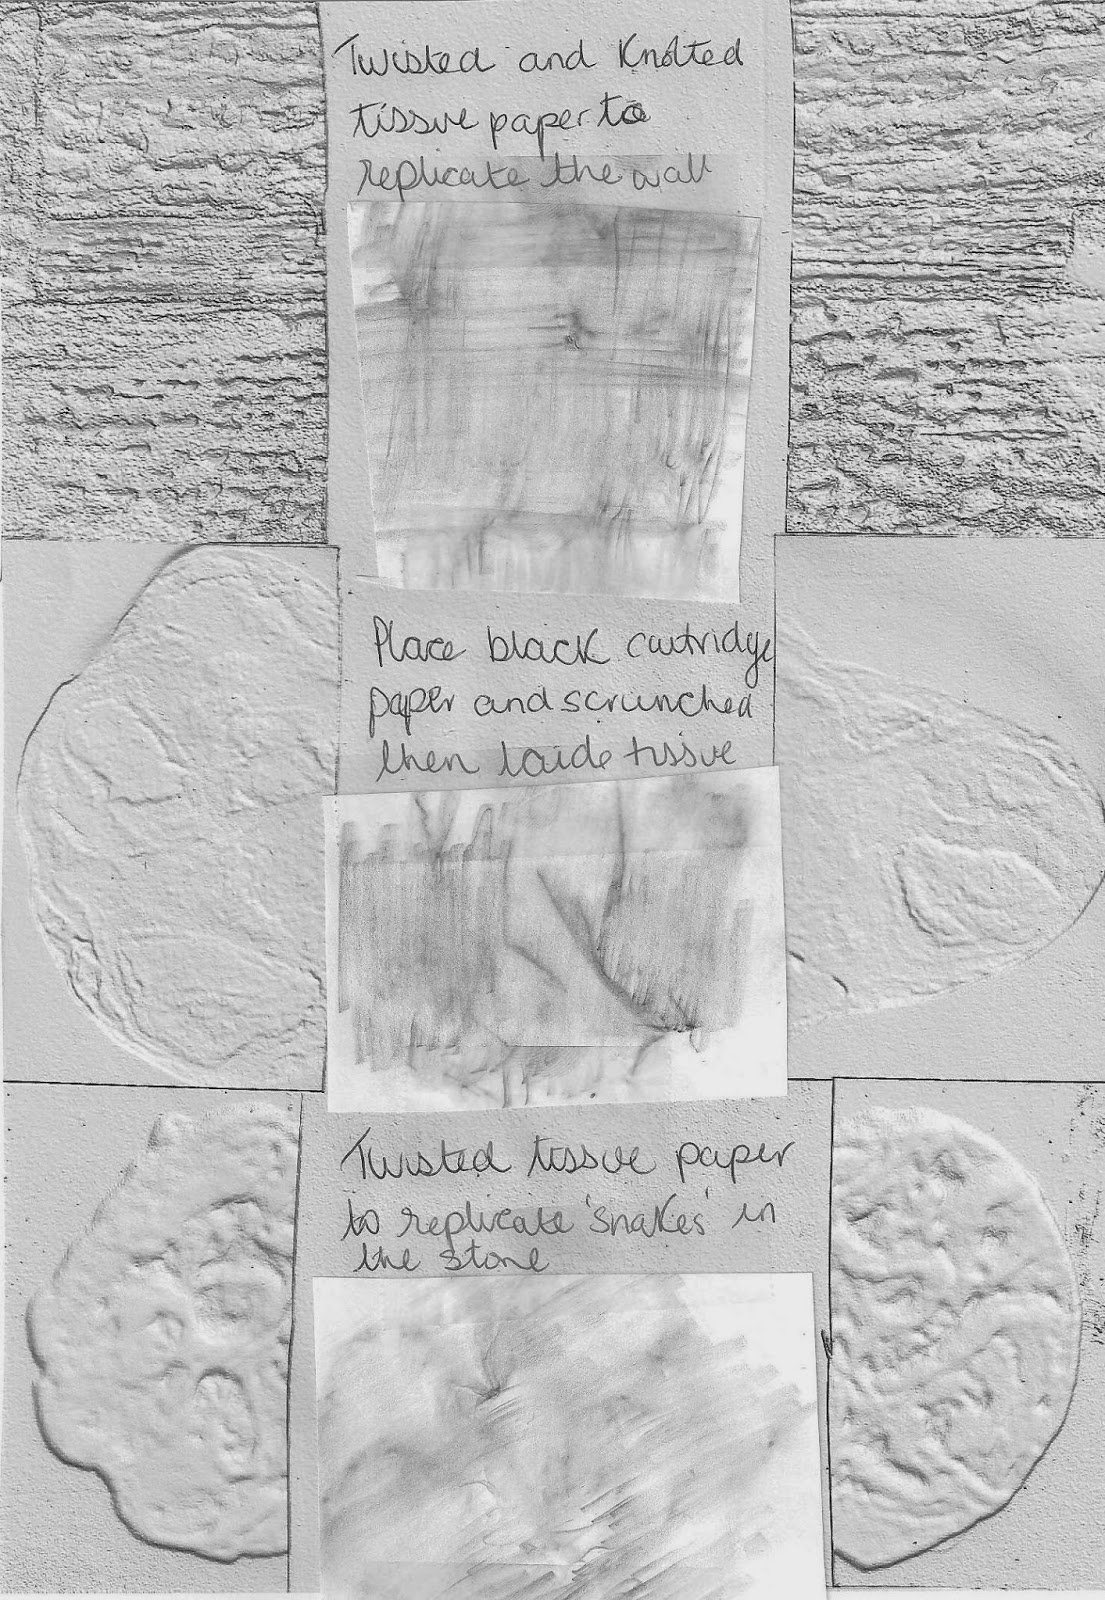
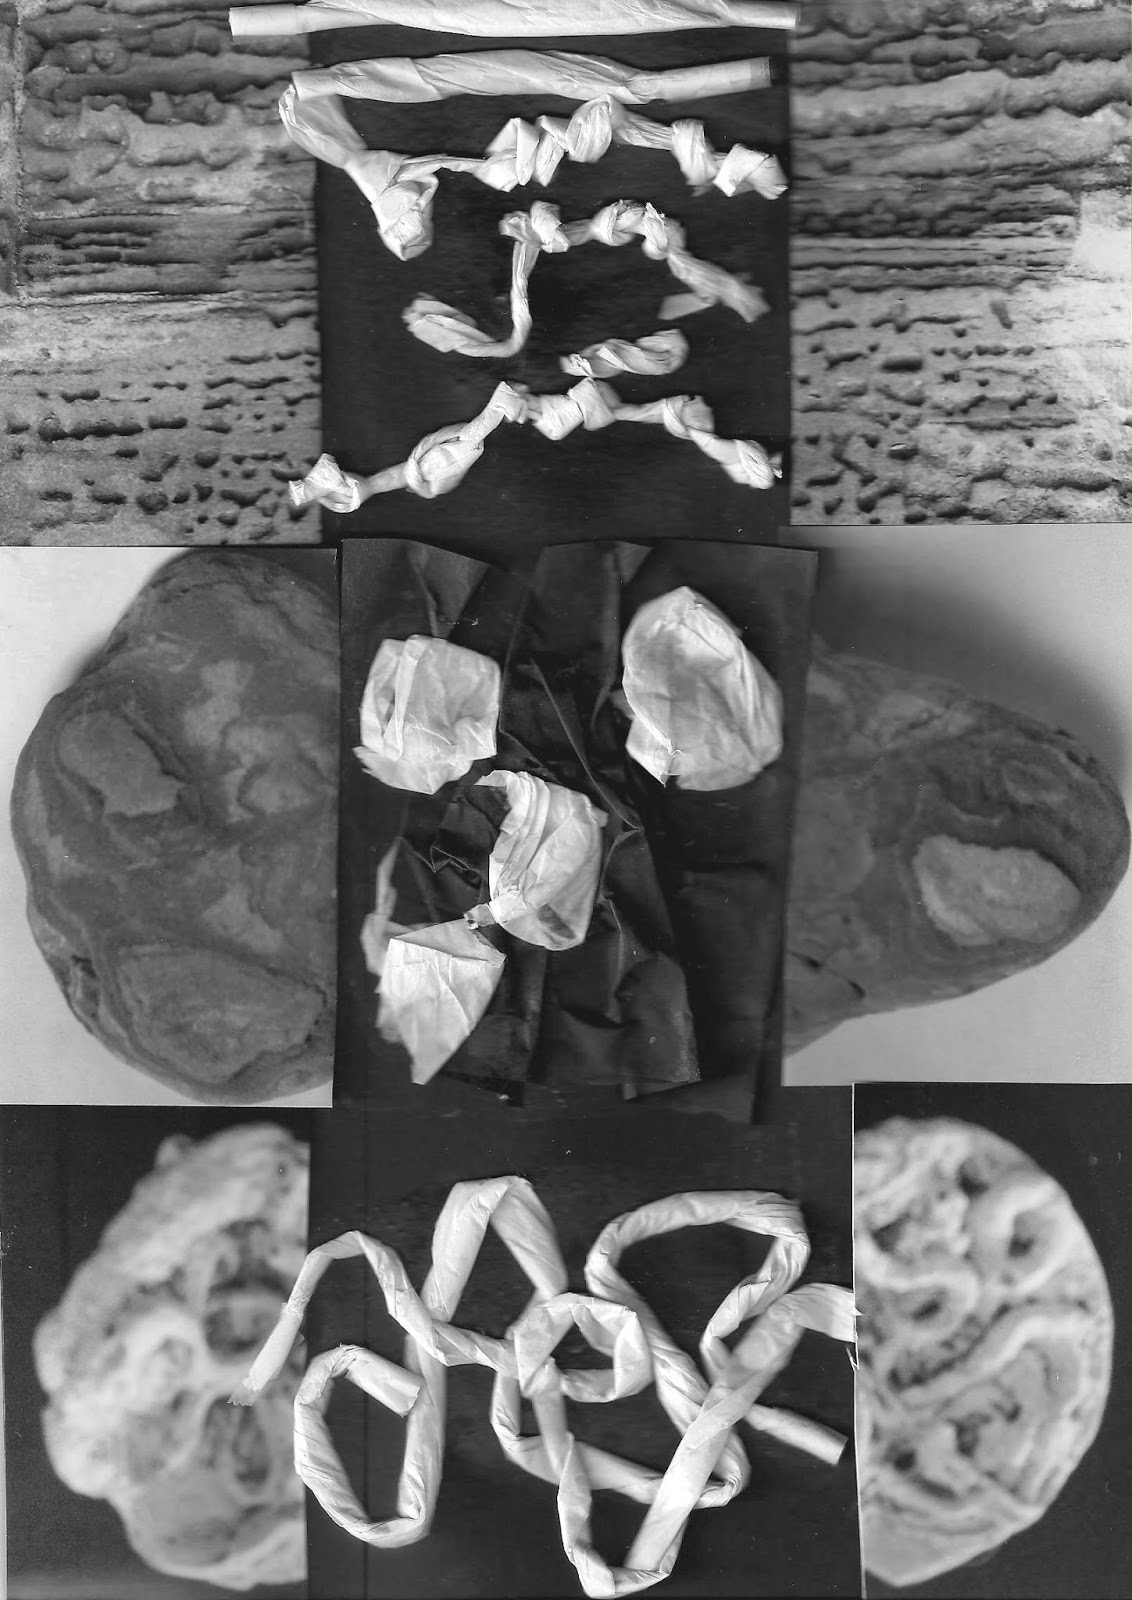
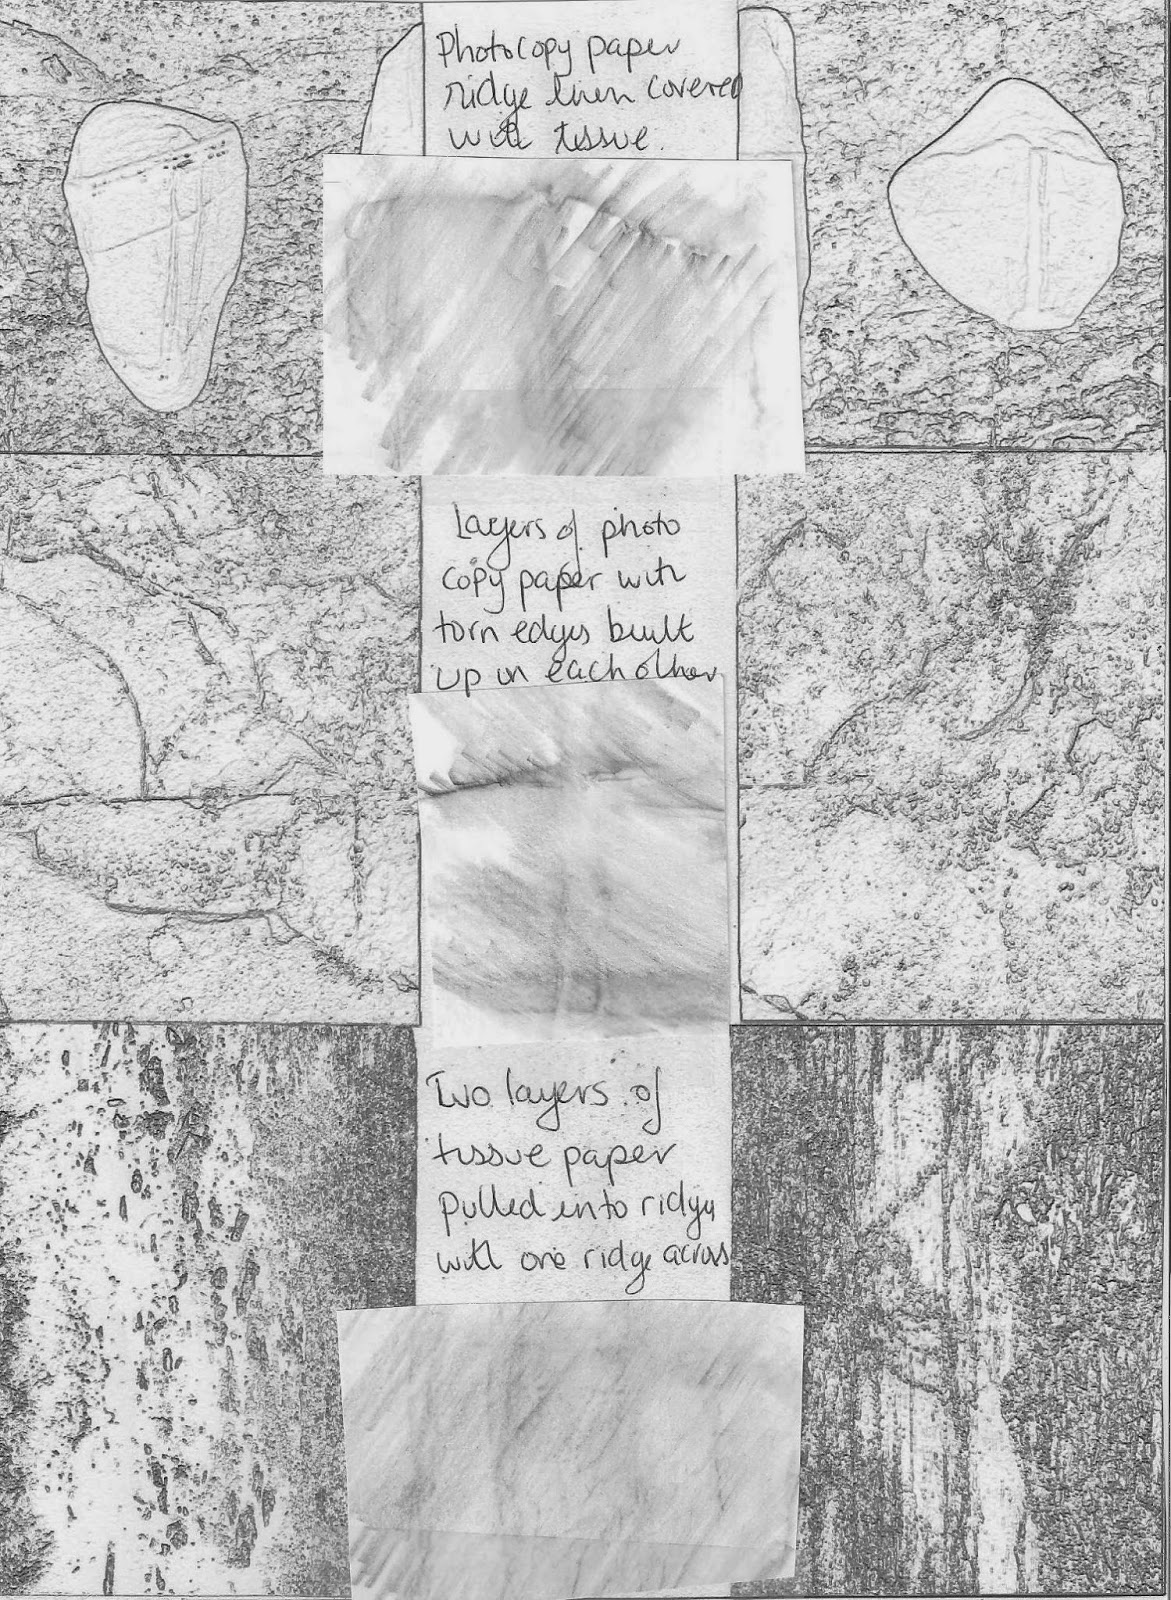
Started this chapter by selecting 6 photos, cutting them in half and mounting on black paper to provide a focus for textural sampling. Before doing the sampling mounted images were fed into my Gimp computer programme to get a black and white image by using the 'Distort' and 'Emboss' options.
 |
| Ref 5.3.1a |
 |
| Ref 5.3.1b |
 |
| Ref 5.3.1c |
 |
| Ref 5.3.1d |
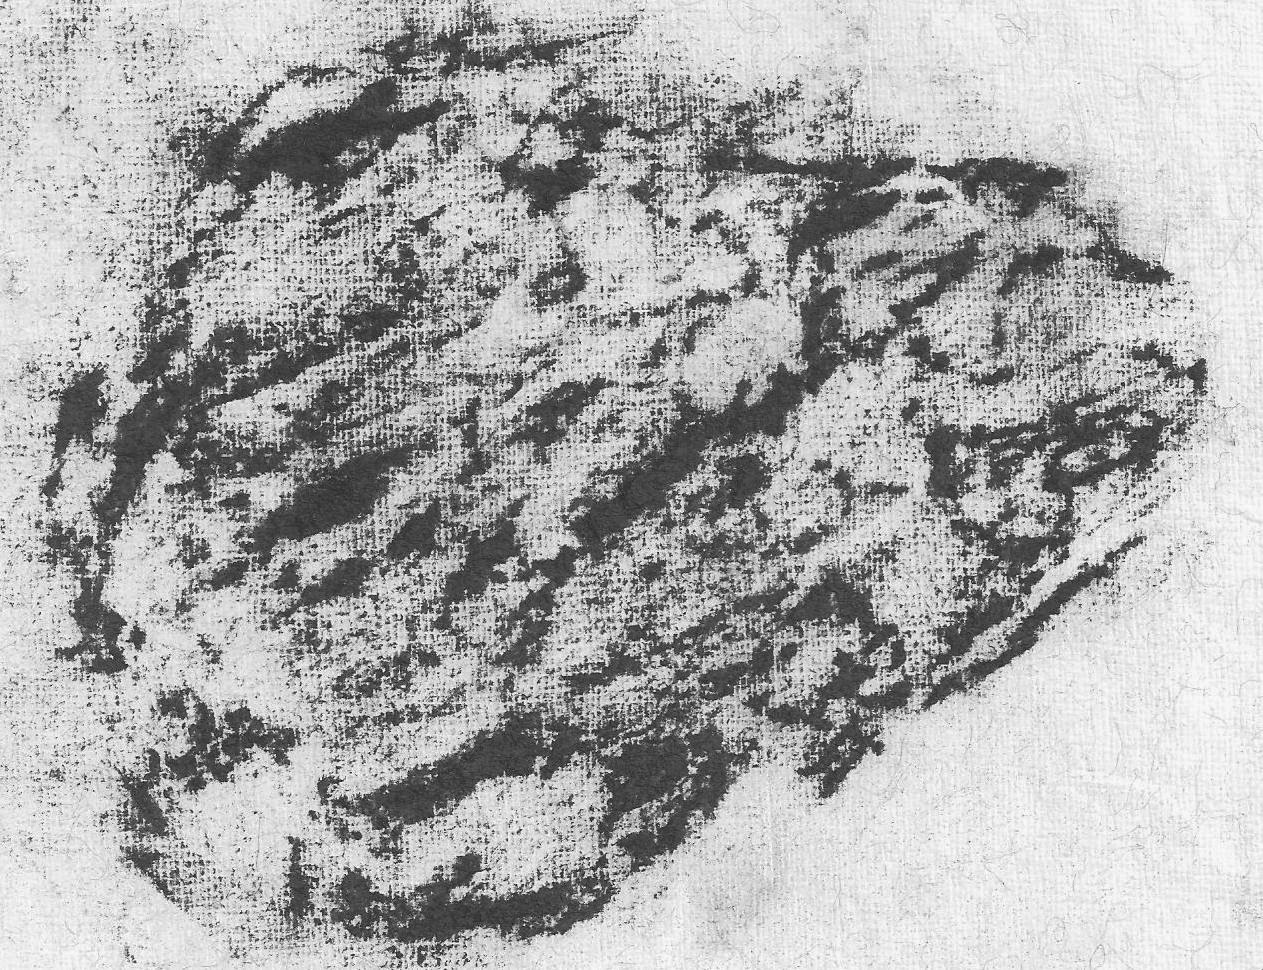
The centre image 5.3.1b shows the paper and method used and also includes pencil rubbings of the paper relief. Below, ref 5.3.1d is a rubbing of the actual stone used on the middle photo. The rubbing was on textured paper with a crayon. A later chapter goes into rubbings in more detail but thought it good to start experimenting early as there are such a huge range of papers and pencils/crayons and its good to see what makes an effective rubbing. I was intrigued with the distort, embossed image as it seemed to pronounce the negative relief when the object was on a light background and raise different layers on a black background
 |
| Ref 5.3.2b |
 |
Ref 5.3.2a
|
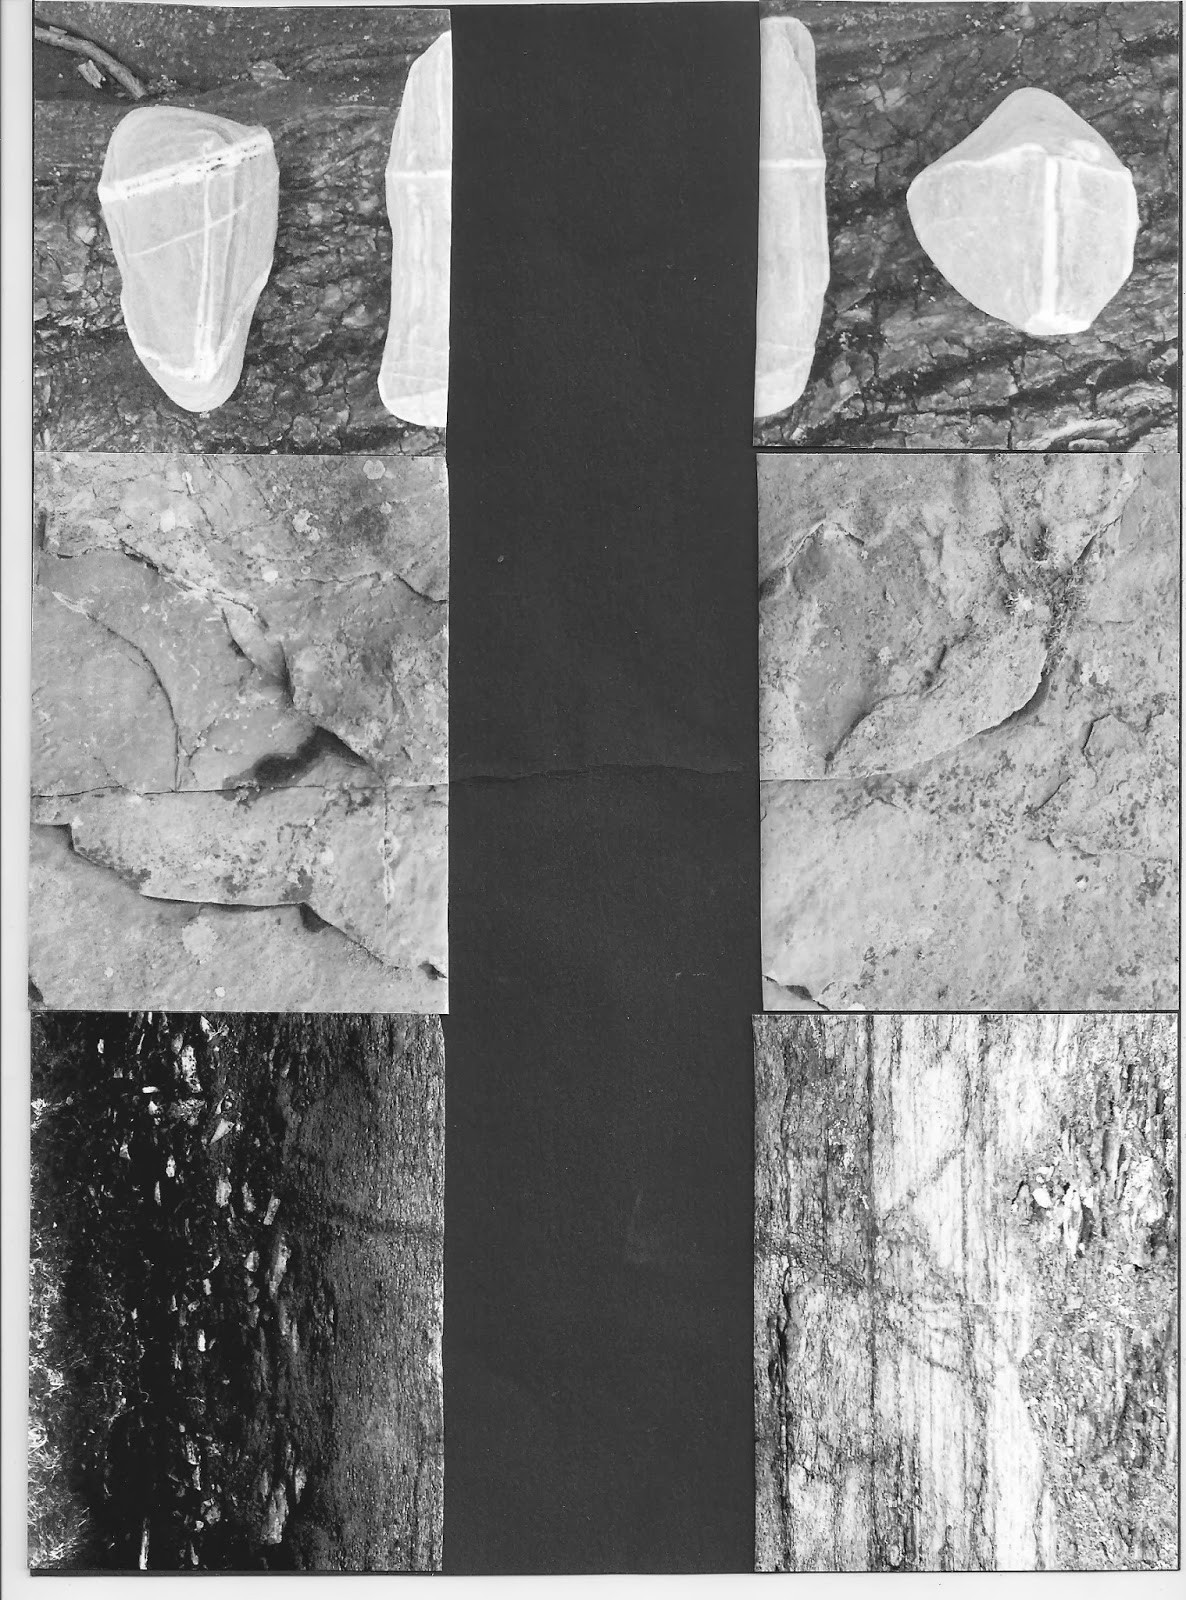
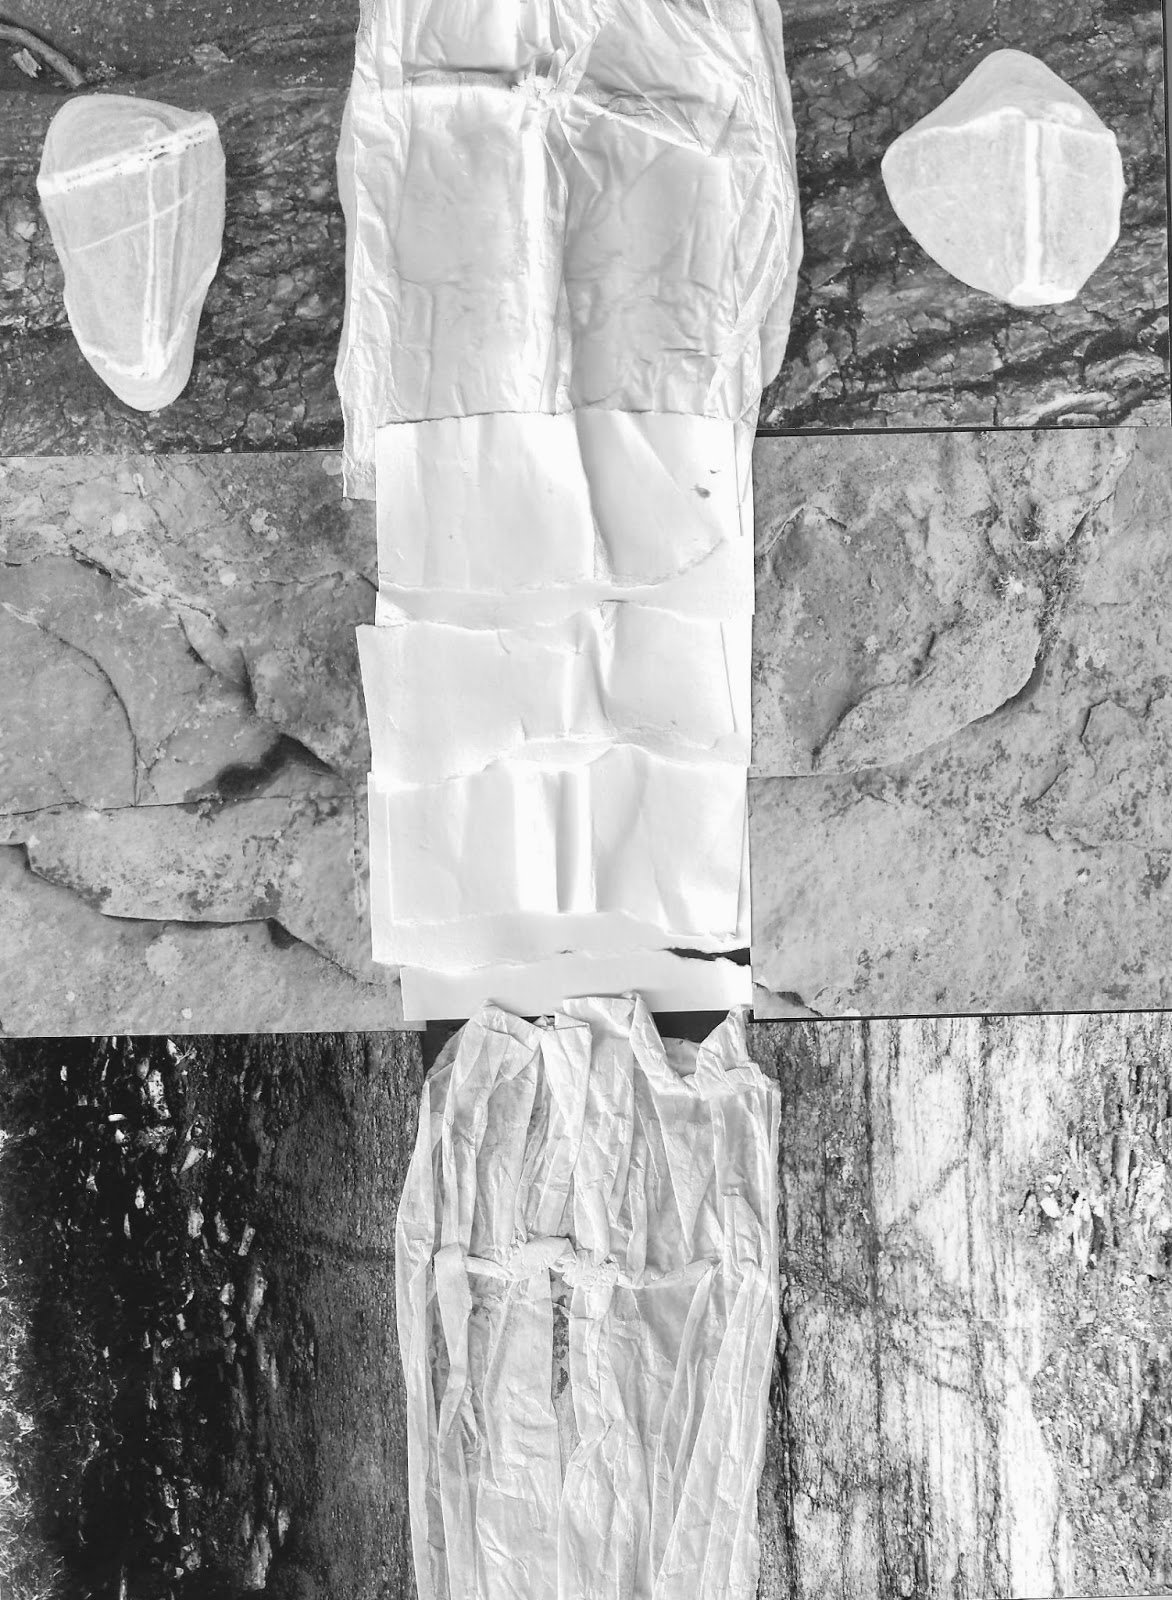
Using the same method as for sample 1a, above, the cut photographic images were in colour and those have been kept in my sketch book but for the purpose of the blog they are saved in greyscale. The colours were muted and I wanted to keep a record of the natural tones as the greyscale lost some of that subtlety.
 |
| Ref 5.3.2c |
For later consideration feel some of these images could be played with more. Although the centre and bottom image of 5.3.2c have been turned on their side, there could be more mileage in chopping up images and enlarging sections, particularly when looking at stitching patterns...have inserted a little reminder , TEC, in workbook and on my story board! Turn, Enlarge Chop! The idea of soil, strata, stone that came from Chapter 1 shows a similarity in this sequence of papers with merely a change in scale of the original photo and type of paper used. Sian had observed from photos in Chapter 1 how, 'the long view, often reflects the close up view such as those of microscopic views...'
I have found that while you set about a new chapter you suddenly become alert to all things that have a 'connection' with what you are studying. So imagine my delight when I noticed a project that was initially shown on BBC Scotland website http://www.bbc.co.uk/news/uk-scotland-25916408.
University of Abertay shows a longer interview. The idea that a soil sample can be translated into a 3D piece makes me wonder how to get a 3D printer or should that really be my task to replicate in a resolved sample for this Module? Don't hold your breath I am sure some other simpler ideas will crop up with the intervening nine chapters!!!!


