Saturday, 21 January 2012

Inlay applique

The challenge and focus of this chapter lay in ensuring that I was not only recording the method of stitching/work with notes that would help me replicate the stitches/methods in future but in accuracy of cutting and stitch to ensure that shapes were easily slotted back together.  Notes and diagrams were made in paper samples and diagrams. 
For the insertion stitches samples the first sample 27a shows a range of hand stitches and 27b shows machine stitches.  The felt used for the hand stitching is a little busy and detracts from some of the stitching.  The felt for the machine stitch sample was done on a simpler format with reverse strips providing 'contrast'.  The most difficult stitch to execute was the interlaced plaited faggot stitch where six attempts were made to get anywhere near an acceptable piece but as you see my efforts ran dry short of the sample length!!!
                         Ref 27 a hand insertion stitches          New less busy bondaweb pieces on felt                 Ref 27b machine insertion and ref stitch
For the counterchange and counter interchange it became clear that it was important to keep an eye on the 'top edges' of papers/ fabric to enable easy insertion of cut shapes into cut spaces.  Counterchange fabric samples 27c and 27d were made after using paper templates 27c i.  The fabric samples show basic reversal of shapes and 'wrong/ right' sides of fabric being reversed.
                                            Ref Sample template 27c i
                                        Ref 27c ii Half cretan stitch insert                                Ref 27 d Diagonal faggot stitch
The more complex counter interchange sample 27e again reversed sides of fabric but also rotated colour sequence around the piece with matching coloured machine threads defining the sequence.  While I had made a sample machine sewing tension piece I was disappointed that when I had sewed the different weight green thread the width of stitch was still not correct and lost my steady pace on the stitching of the purple shape.
                                       Ref 27e machine stitch insertion and ref pattern
For Interchange Sample 27f I undertook an experiment with turning the new cross shape around to see the impact in paper and then on the fabric sample where I used felt on linen.


                                                                                                     Ref 27f
The choice of linen was difficult as despite tacking the fabric slipped and the insertion joins  were not as tight as felt next to felt.  While I tried to over stitch these gaps, making a bit of a mess, I gradually appreciated that the fray edge could be a 'feature'.  The movement of the inner cross also gave a contrast on the grain of the fabric which gave an additional contrast.  While the undyed linen did little to the colour combination I felt it allowed a clear view of the method.  

Wednesday, 4 January 2012

Reverse Applique

Before starting this chapter I thought it would be useful to review aspects of Chapter 12 as Herta Puls was one of the chosen artist for students on Module One to review...her interest and detailed study of reverse applique and specifically her book The Art of Cutwork and Applique provides a wealth of background and examples.  With that and a plethora of websites to look at it is impossible not to be overwhelmed.  Early on in the course I tried to view websites but avoided blogsites which were a bit intimidating and prescriptive on design elements.  There seems to be a fine balance, when investigating or just appreciating others work, between looking  and not being tempted to copy or stiffling ones own thoughts...
My choice of fabric, threads and stitching, even after trying to make informed decisions, still leaves something to be desired.  Some of the layering was in the wrong order, notes of those concerns are on each sample so hopefully these will stand me in good stead as I head towards the last chapters of the module.  The result was that, as in previous chapters,  learning takes place while actually doing the practical samples...it feels like my mantra is becoming 'I should have done...!'  I did not want to flatten samples so these are photos and not scans.
Ref sample 26 i
Using cotton as background,  first layer and top layer silk was used for second layer.
On seeing the finished sample felt it could be improved on making background layer more interesting as the cross was much broader than I imagined.  Possibly use organza over the background as this was not going to be folded or made opening narrower. Stitching and 'corners' not executed as well as I had tried, felt I was all thumbs!


Ref 26 ii and iii
Enjoyed making these samples and have included 26iii with some of the overlaying fabrics left in place on photo at far left as it appealed to me and seemed to give added depth.  Base layer hand dyed calico, first layer muslin 'mop' layer two and three manufactured printed ctton.  Top layer hand dyed printed muslin.

Ref 26iv
Used seven fabrics on the sample felt as background, hand dyed green calico, yellow satin front and back as one side had more sheen(top right) and one more texture (bottom left under hand dyed muslin) two pink/red mops and top layer of hand dyed printed muslin.  Photographed the sequence, below to show the progress.  Used a long machine stitch to allow easier fraying.  On reflection when adding the green square would have placed it in bottom left


1st cut                                                                                                       2nd cut
3rd cut
Ref 26 v
Machine stitched the shape from the rear through the five layers of fabric;base layer felt, first layer manufactured printed cotton, second layer hand dyed printed muslin, polyester organza, 'mop' dyed paper bonded to chiffon.  Despite much rubbing to distress the surfaces found that much of the layering effect I had hoped for did not appear.

Tried to stitch layers open by 'ditch' sewing but the multi layer effect still seemed lost.  The paper on top layer distressed under the chiffon but this is not seen on photo.


Monday, 19 December 2011

Complex samples

Before doing fabric samples I reviewed previous chapters and samples to select  a variety of patterns that were not too busy...saved in a word document I was unable to put onto blog.  
To aid the process a selection of paper samples were made in the hope that this would clarify how I would undertake the fabric samples.  Notes and comments were made as to what pleased or jarred.  Strangely when taking note of these comments while working on the fabric samples even more ideas came to mind as the choice of fabric had bearing on finished item!  So much for sticking to a plan...  there's always the next three chapters!!!
Ref 25 Paper samples i - iv                 Ref 25 Fabric samples i - iv
                            Ref 25 Paper samples  v-vii                   Ref 25 Fabric samples  vi-vii          Ref 25 paper and fabric viii


Ref 25 Paper and fabric ix


Friday, 2 December 2011

Translating design

Working five designs samples the aim was to experiment with a variety of options in fabric and stitch and hopefully learn of the foibles that each brought to the translation.  While referencing back to the previous paper samples a twist was given so that none of the translations set out to be an exact replica.  Early on in the process I realised my 10cm squares of fabric needed to be larger as the paper patterns based on a 10 cm square did not fit easily on the fabric, particularly if I wanted to twist designs around the axis.  


Ref 24a: Using 22b as a source and maintaining three layers I reversed the top layer fabric and placed yellow silk on the first layer.  Perle thread was used for top layer and thin cotton thread on first ...in both instances a running stitch was used as an outline stitch.
Ref 24b: Using 19c as a source five layers were used. A base layer of calico, two layers of gold organza, purple stamp printed silk  and green stamp printed sateen. A chain stitch in rayon was used and a cross stitch with metallic thread. Top layer was twisted to lay parallel to base layer and negative shapes were selected.


Ref 24c: Using 19e as a source this sample used four layers, base layer purchase dyed calico, hand dyed muslin, muslin mop and purchased printed cotton.  A stem stitch in a variegated polyester thread and double row running stitch in crochet cotton were used.  I had previously considered changing the positioning of the top layer to run on the horizontal plane but forgot to enlarge the pattern and tacking ...for another chapter!!!
Ref 24d: Using 19b I enlarged the opening of the top layer to reveal more of the first layer.  coloured calico was used as base, silk as first layer and hand dyed calico as top layer  Using chain stitch to emphasis edging perle was used on top layer and rayon on first layer.  A variegated perle thread was run through the middle of the first layer and appeared in sequence on top layer.


Ref 24e:  As a follow up to the ideas of asymmetric design I played with the ideas inspired by 22a.  Using a running stitch throughout a variegated perle and two twisted variegated polyester threads were used.  Five layers were used, coloured calico, hand dyed muslin, two colour dyed mops and a purchased dyed cotton.

Thursday, 10 November 2011

Bonding Applique


A great opportunity to play!  Enjoyed this exercise at it used up a host of bits and pieces I had been hoarding from previous chapters and, as you will see on the last sample, previous projects in making fabric.  The use of bondaweb seems more effective than the bonding  powder but as it had been in my store cupboards for a while set off to use it up and ended up with a small diversion from the module ...make a Christmas fabric to be used for cards!!


Fabric Selection and Decoration

Ref 20a)  numbers 1-12  from left top               Ref 20b) numbers 1-12 from left top
In my fabric selection I used a range of fabrics over my four key colours, these included dylon dyed muslin 20a 1 and 20a 3' mop' dyed muslin 20b 1 and 2, dylon dyed felt 20a 2. Felt 20a 4/8/9 and 20b 9. Shop purchased printed cottons 20a  5/7.  Dupon silk 20a 6. Sateen 20b 5/10.  Polyester organza 20a12, 20b 6/8/12. Cotton calico 20a 10, 20b 3/4(mops), 20b 7. Polyester sheen 20a 11.  Polyester with sequin 20b 11. 
The 'mops' were made during the paper colouring exercise.
The printing effects are shown below:
Apologises that they do not appear in the same order as the original board!! But all samples have been attached with original fabric details.
Ref 21 a,b,c,d.  Organza proved to be the most difficult fabrics to make an imprint on but when overlaid against self coloured papers the results proved more effective.  Felt fabric needed more paint as it absorbed.  Silks and cottons appeared to take prints more easily and effectively.

Monday, 7 November 2011

Design Shapes -revisted

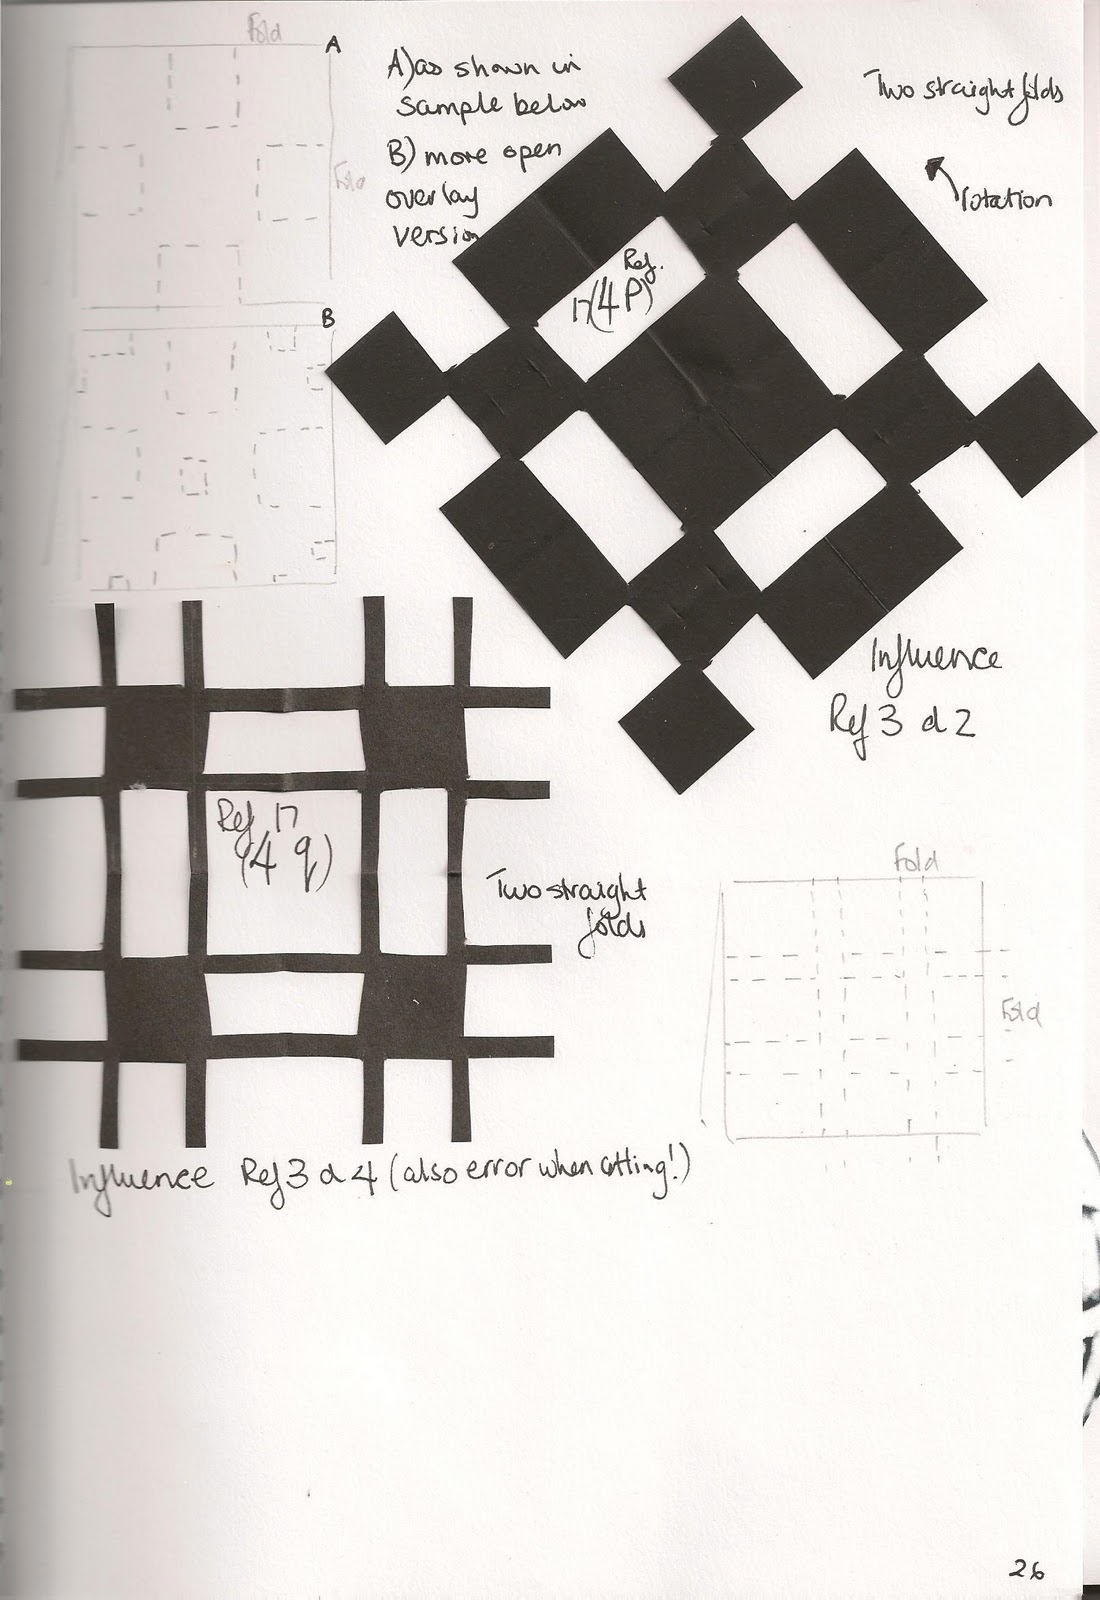
Following contact with Sian four new designs were completed by setting  shapes out as a asymmetric sequence.  The two sequences, Ref 19 i and 19j. each show the inclusion of original design 17/4/q  but you will note that the original pattern had four squares filled - to allow a more open lattice these squares were removed thereby allowing some interweaving of shapes to be considered. Despite trying many options the designs appear a bit static and think that design options were limited by putting two designs on each page...I was trying to enable a flow through templates- the restricted colours were chosen to enhance this but the pictures show that some addition colour contrast or texture was needed.
The exercise, however, honed me in on considering how stitching and the width of the lines shapes would translate into fabric stitched samples.  Ideas on the potential of a raised or slipped surface through layers of fabric ( i.e. one two or even three layers of muslin, organza as a background)  or padding mulled around my mind.  The placement of stitch helped me consider which designs would be better suited for reverse applique, padding or fraying detail.  Also the idea of making samples to see how small areas of stitch within the body of the fabric using contrast /complementary colour was noted for later chapters. particularly when using a build up of one colour over a variety of shapes and layers. 


Reviewing the shapes, Ref 19 a-h, the dynamics of moving shapes beyond the background paper was enjoyable.  Thinking of how these would be transferable to future fabric samples also alerted thoughts of stitching lines. 
 
I was fascinated by looking at two of the designs, 19b and 19, using the two mirror image.  The revelation of addition shapes added an extra dimension!

 I was fascinated by looking at two of the designs, 19b and 19c, using the two mirror image.  The revelation of addition shapes added an extra dimension!

                                                                 Ref 20 a Page 33                                      Ref 20b Page 33

For the coloured papers selected, see Ref 18.
The variety of shapes Ref 17 a – t were influenced by original thoughts outlined in Chapter I and shapes made during Chapter 3.


Experiment was absorbing and in many cases I became more interested in cut shapes rather than accurate measuring, the result in some cases is acceptable but in some cases the lines looked a bit crude. When translating these black cut out designs to the production of coloured and layered shapes this crudeness became exaggerated.


NB all images are A4 unless otherwise stated