Sunday, 29 July 2012

Further Design samples - Papers

In reviewing work from previous chapters the need to hone in on areas that needed more exploration and fill gaps in design ideas and technique became apparent if there was to be a functional piece of work at the end. 
Exploring the Fibonnacci Sequence and Golden Section had not touched on the use of curves and circles in my design.  So set off to revisit the Golden section by reducing down in size and setting up a sample by using a black work stitching onto embroidery fabric.  This piece was then photocopied and reversed, by printing onto acetate, achieving a series of joining spirals.  Exploring a larger sample to establish a more completed spiral was satisfying and could be used as a singular or as another composite.
Ref Page 55 sample a           Ref Page 55 Sample b
Looking at my papers the need to explore circles with the intervention of Fibronnaci dawned and from that came: an egg out of a circle and then an omelette!
Ref Page 55 sample c  Ref page 55 sample d
With these images touching on the endless possibilities of shapes from patterns and cut the next journey began on further design exercises.
A series of paper strips showing bold and and light patterns and dark and light tones were produced in a series of sizes, the first series were narrow strips:
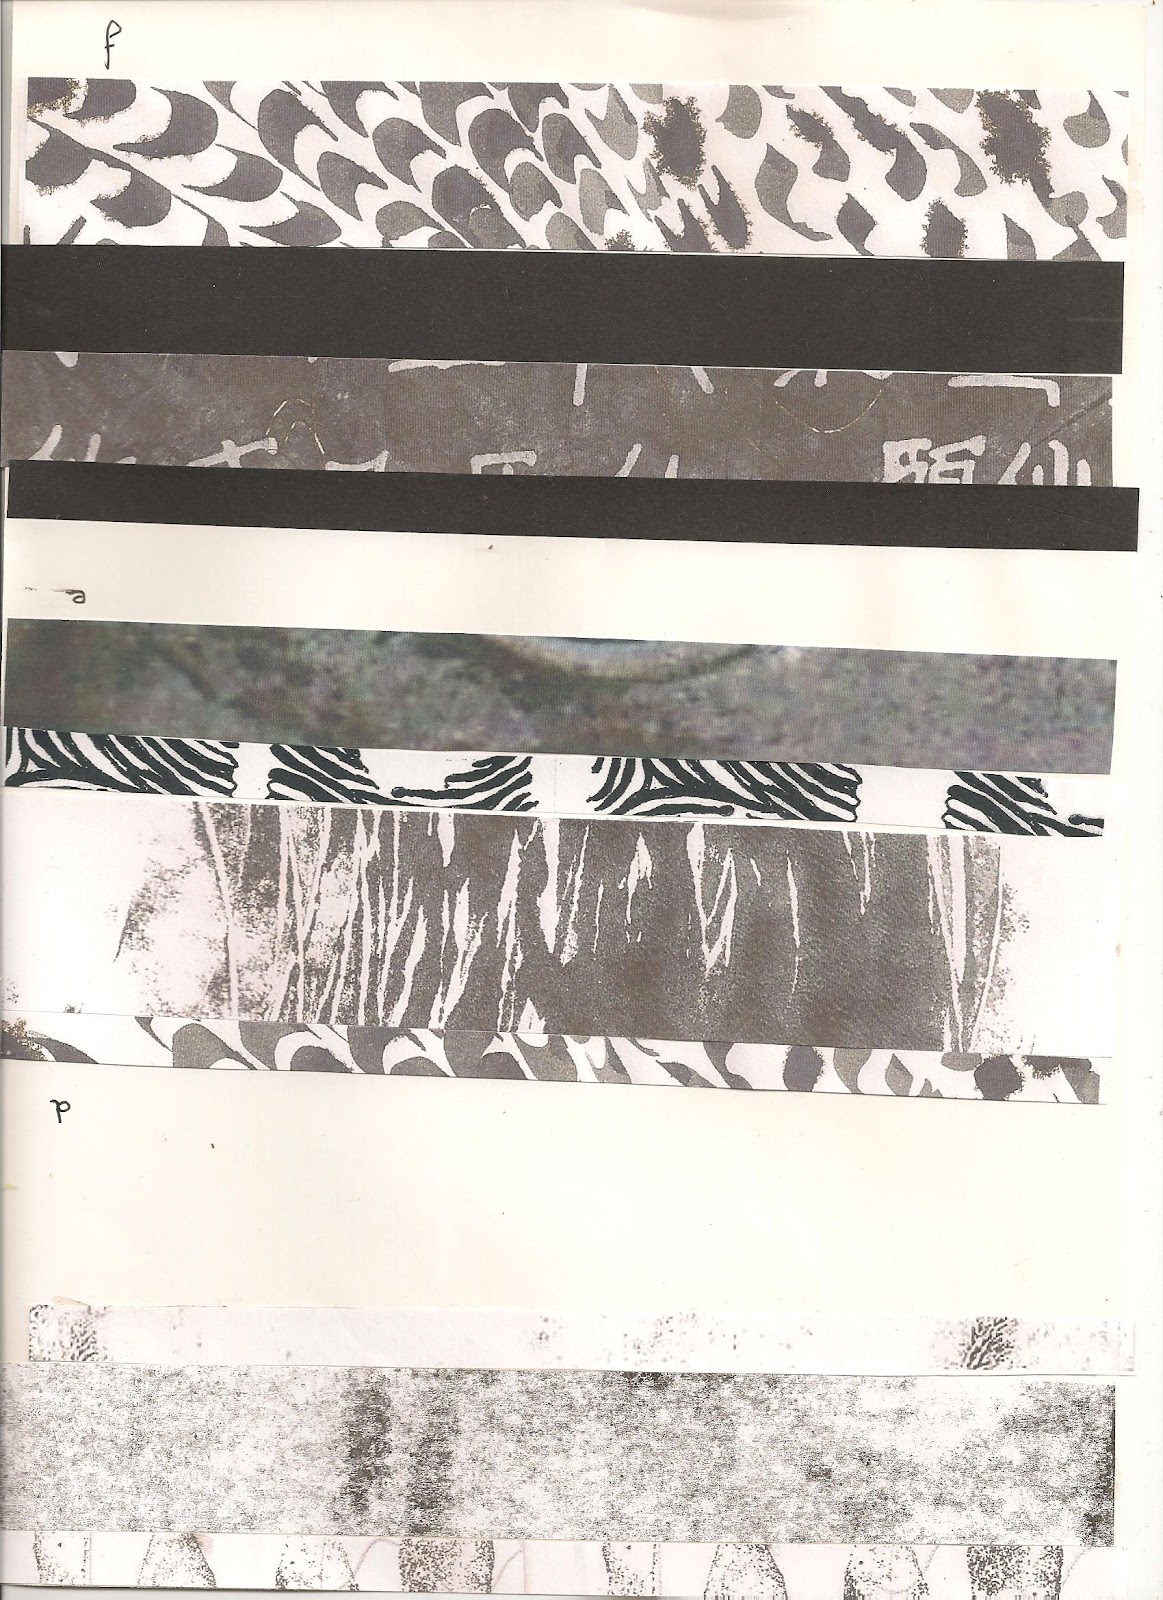
Ref Page 56 Samples from top: a, b, c Ref Page 56 Sample d, e, f
Ref Page 56 Sample G page from top left  f straight cut, b diagonal cut: 
Top right a straight cut fibronacci b straight cut:
Bottom left b curved cuts, which gave a lunar appearance, see below
Bottom right d triangular cuts  


The second series of samples are from a selection of varying widths which are included in each range of samples beside the following sample shapes and sequences.
Ref Page 57 showing paper A sample i                                                                                                           Ref Page 57 paper A sample ii

  Ref Page 57 paper A sample iii          Ref Page 57 paper A sample iv
Ref Page 57 paper A sample v Ref page 57 paper A sample vi
Ref Page 57 paper A sample vii
While samples v and vi were originally designed to explore circles and spirals it became apparent that a right angled triangle wasn't the best shape and noted that I should try different triangles in the future; this connected with the possibility of using gores to add shape into an item.  Papers B and C below produced their best results in the first cuts subsequent playing appeared more                                                  
Ref Page 58 Paper B                Ref Page 58 Paper C
Squares to stack and whack were produced as the third series. Single patterns were used as well as combinations.
The top row samples were then cut into linear sections and the lower row were cut into triangular shapes


Ref Page 59 Sample a                                                  
                                         Ref Page 59 sample b


The linear sections on the top row of sample b were cut into triangles and play continued:
Ref Page 59 sample b) i
Ref Page 59 sample b) ii Moving into a straight line seemed to lose impact but then Page 59 sample b) iii fish tails or feathers?


The triangles on bottom row of 59 b were then cut in linear format and gaps were left to allow bolder contrast

Ref Page 59 b) iv                Ref Page 59 b) v
By turning the pattern upside down I liked the diagonal and diamond patterns that were formed and considered how these could be highlighted.
Ref Page 59 b) vi
While I could see opposite directional 'arrows' on the middle section that led from the left hand side and into the right hand side and the smaller and larger squares could be considered fish like I felt it may not be a very apparent image!!  Lets hope translating into fabric and stitch will see more progress in image making by play rather than too much brain input!


Sunday, 10 June 2012

Traditional piecing methods

Looking back over my inspiration boards I worked some ideas out on rough paper.  The thought of using up 'precious' hand made paper samples caused me to pause before having the confidence to cut! It was at this point that I also chose to print copies of the printed fabrics thereby having a stash of papers.  I began to get the feeling that I may well be printing more fabrics that more closely replicated the paper samples or maybe photocopy the papers and print them!!
Ref Page 44
The papers that were selected to work an idea were from the range of feather, fish, amphibian and skin papers. When deciding to select a pattern to work with sample c) seemed to offer the best choice.  Sample b), the ammonite, could well be better  for use when looking at the Fibonacci sequence in a later chapter.
 Originally setting out to do a different sequence to that shown on page 44 I decided to also try the reverse using the full square rather than cutting off the corners as shown in page 44 sample c). Samples on page 45 show design using log cabin technique.
Ref Page 45 sample                                             Ref Page 45 sample b)            Ref 45 sample c) For the sewn sample c)  a range of bought fabrics
 
Working with strips of paper sequences were used to experiment with the technique of Seminole patchwork.  First working through the sequence with bought pattern papers :
Ref page 46 sample a) and ref page 46 sample b)
Progressing onto making a sample in hand printed papers using a range of cuts before deciding on the two following options of cut; 90 degree for main body and 45degree for fringe these appeared to have a 3D effect and could incorporate some see through and textural aspects.
Ref page 47 sample a)
Now the fun begins in fabric! Determined to keep to a plan - what happens! I contemplate that I should try a sample using just a 45 degree angle, not so much cutting and resewing!
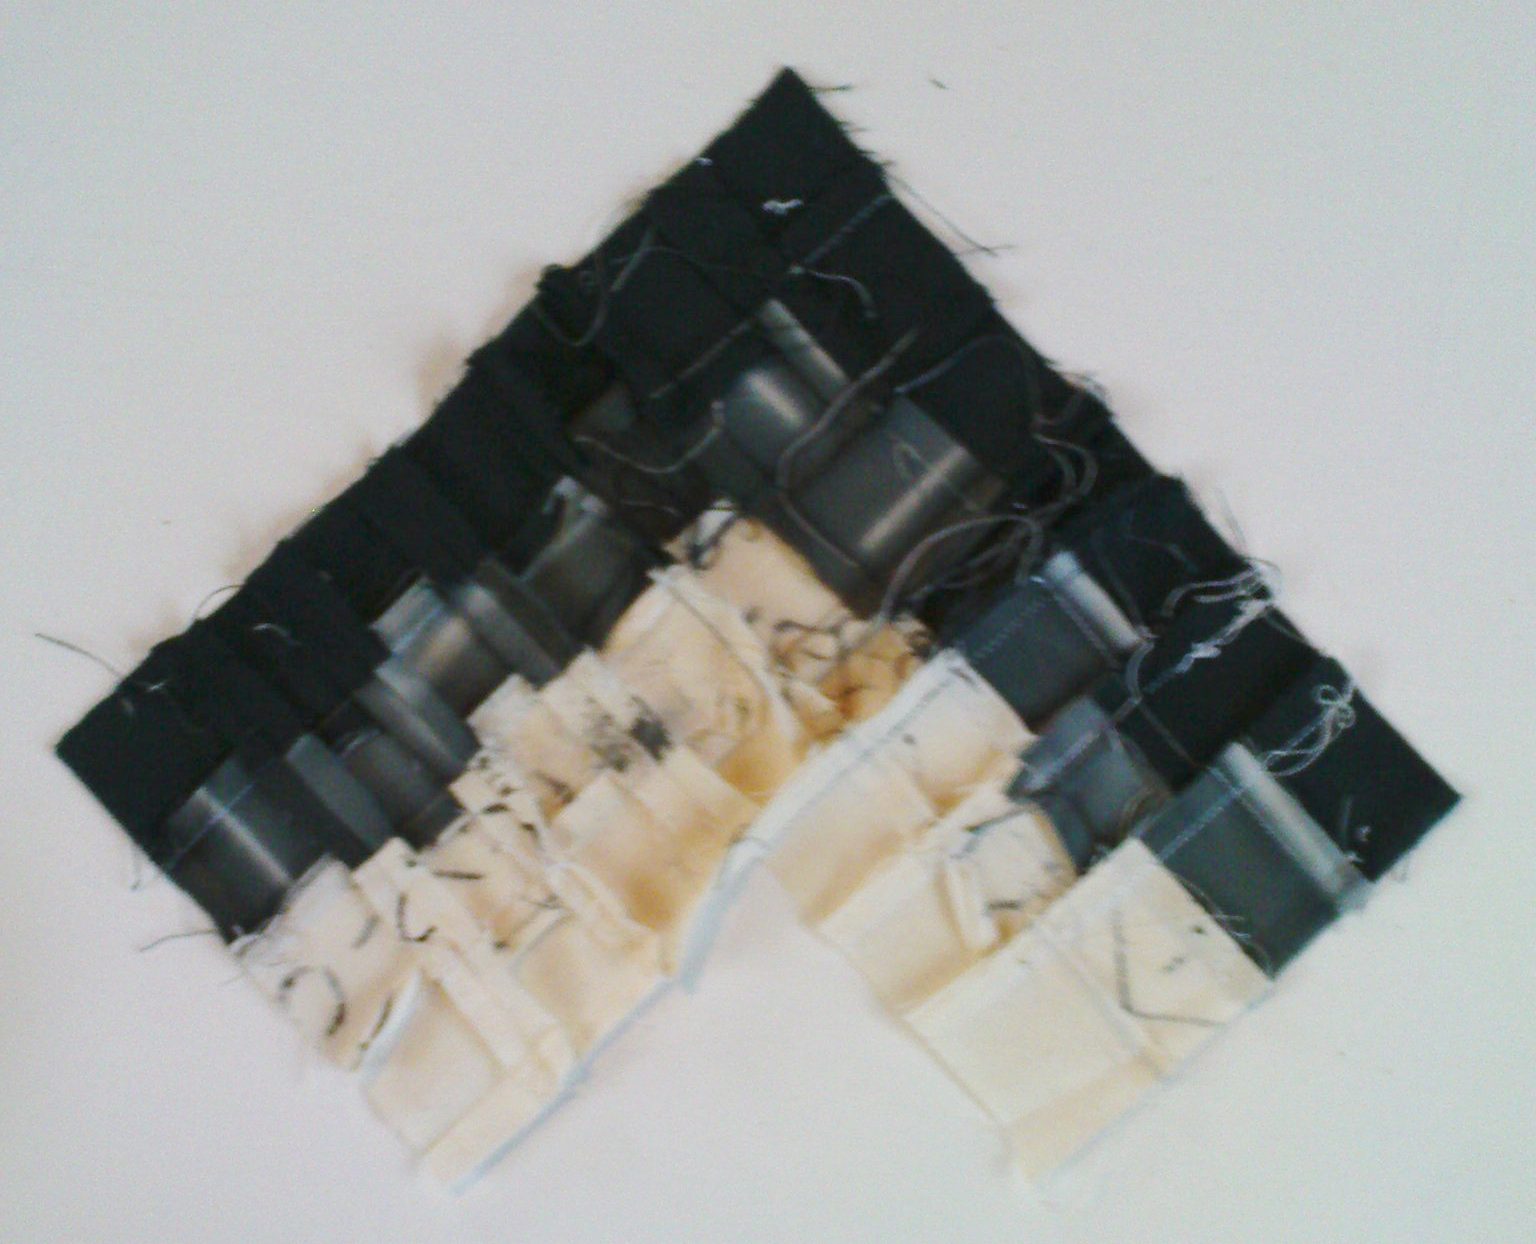
In cutting off the sides as show on paper sample on page 44, a fledgling appeared!
Ref page 48 sample a) front             Ref Page 48 sample b) reverse
 Then guilt set in and back to the original plan.
Ref page 48 sample c) reverse                                 Ref page 48 d) front
As you can see a bit wobbly and confessions - this is the second attempt!  Made some strong recommendations to myself that when doing precision sewing; pin at right angles any matching seams and make sure you keep to a straight line to the end of a seam, it seems I have a tendency to wobble at the end and the effect multiples as the piece grows.  Feel somehow that the back is the more interesting image as it doesn't focus on perfection!!
Ref Page 48 sample e) bondaweb and chiffon scarf Ref Page 48 sample f) machine sewn on soluble fabric ( not dissolved)
Made up some fabrics from my 'thrum' jar with an idea for using them to make the insert or fringe.  It took a lot of playing to come up with a result which is sadly a bit of a mish mash...looked great on paper.  Maybe I should have just butted up the seams and over lock to get same effect as paper sample! In trying to tidy up top edge have exaggerated the wobbly edge
 Ref Page 49 Full view on left more detail right
The ideas of how this could be made into a repeat pattern became intriguing but decided that as there was more piecing to come in future chapters would let my thoughts quietly mull over the lessons I had learnt. My inspiration board seems to have become a 'bird table';  an old wood block of a paisley pattern which sits on my window sill and had been used as a print suddenly became a birds wing, a tern that was machine stitched years ago suddenly appeared maybe its time to explore a new animal theme:

Hey presto I decided to iron my fabrics and discovered not only great colours but ... shells!

Thursday, 10 May 2012

Making patterns and bleached patterned papers

The previous chapter showed marks made on papers for each animal theme.  For this chapter I have shown mark makers and the effect made when used with bleach.
Ref Page 34
Top image:foam fish stamp, a lace piece which did not work with bleach
second row: plastic embossed sheet, metal rasp, string fingerprint block, herringbone foam block
third row: foam cardboard and string block, feather foam stamp, nuts and bolts, linocut fish stamp
fourth row:magic sponge, didn't work, fruit net.
The most difficult aspect of printing with bleach was to ensure that not too much was used as the image spread on drying.  I had tried to use a milder 'cleanser' as bleach is not something I use but found the results disappointing so resolved to buy some bleach.  As I was concerned that the black tissue I had may have also been a problem I also dyed some white tissue with Quink.  A couple of the mark makers proved ineffective: the lace needed more pressure, I had previously used a printing press when printing this design;  the cardboard designs used too replicate human skin cross section collapsed under pressure and so felt the idea of monoprint as show in page 29 was a better option for taking inspiration from skin cross section
The results below show the impact of thick bleach on both types of paper.
Ref Page 35 a            Ref Page 35 b
Ref Page 35 c            Ref Page 35d
Ref Page 35e           Ref Page 35f
 As my heavy handed dipping of bleach had proved somewhat crude I decided to try a stitch pattern to control amount of bleach onto tissue.
While becoming stumped on the last part of Chapter 4 I had found an ammonite pattern which appealed.  I was also feeling anxious as I had not been doing stitching samples and the idea came, how about stitching a pattern on paper and dying through the paper.
The result of a shell pattern stitched, without thread,  is shown below:
 Again I overdid the bleach! Should show more patience...but liked the idea of the stitch marks perhaps, however, should consider a pricking on a firmer card as when making lace patterns.  I liked the idea that within the pattern there would be an option to put a variety of patterns within each section.
Now the task of stitching some samples!