Friday, 3 August 2012

Functional Ideas

 In putting together ideas for a functional three dimensional embroidered item brainstorming what could be considered as functional seemed to be the best first step.  Some perhaps stretching the limits of function, but here goes, with some inspirational samples from The Asmolean Museum in Oxford and the lace jacket below from Birmingham Art Gallery:
 'Wearables' clothes offer warmth, cover, celebration, historical context, fashion, status. Ideas that could be made as a resolved sample, neck capes, kimono, poncho, jacket. In considering patterns I was particularly taken with a garment I have not seen before , an African tobe.
'Addables'  or perhaps a more contemporary description, accessories, have functional qualities and should not just be considered as secondary to 'wearables'.  They can be used to join items together e.g buttons, torques, and pins.  There are an adornment that not only set of details of fashion, but can suggest or celebrate status.  Ideas that could be made, bags, jewellery;bracelets, torques, necklaces, brooches.


'Playables' toys, models or mobiles offer instructional tools which have educational value, entertainment appeal and accessability of scale. Ideas that could be used are smaller versions of 'wearables' showing variety or sequences of design.  They could also give three dimension to shapes in historic or geographical context, e.g petroglyphs. While the examples here are animal mummy's; one of a cat the other a baby alligator the fact they are wrapped in log cabin design was a surprise.


'Containables' shapes that display and/or hold items such as this beautifully carved sarcophagus on the right.  Ideas could include vases, bowls, curved plates,boxes as container or as a display item.
With these key concepts in mind some rough ideas,inspirational visuals and paper/ fabric patterns, Ref Page 60 a and b, were collated before considering the stage of honing in on templates and design elements.

Ref Page 60 sample a Ref Page 60 sample b

A series of templates from each 'able' sector were made.
Containables:
Monymusk Reliquary inspiration with rounded top, see Ref 60b top picture in bottom left feature


Wearables & Addables:
Inspiration Golden Sequence spiral  and ammonite  See bottom Ref 60a to see design idea
Playables:
Dolls
While using a minature wooden artist model to make a 'clothes horse' I realised I would need to do several dolls to show the range of techniques and considered a simple shape. I was becoming concerned that the model was too small and after tackling a large piece of fabric in my samples in Chapter 12 sample B thought maybe dolls were not an option.


Mobiles
I had paper patterns of birds I had cut from handmade paper, a slit is in the body through which a pleated paper is place to give wings.  The model was flat but a gusset can easily make a 3d shape.
While a variety of shapes  and variations of tails and feathers could be produced it maybe interesting to produce a flock of one shape with an emphasis on variation in pattern and stitch as well as different stages of flight
So now to a decision:

  •  The thought of  an item of clothing  appealed. But was concerned about scale. Clothing could always be made doll size but thought this could be a fiddly issue at the other end of the scale.   I was beginning to think that big was possibly easier.
  • The idea of an ammonite 'addable' was intriguing but think spirals are coming up in later modules.  The idea of brooches from the petroglyhs - rock art, could always be something for the future, or as a small project.
  • So after all the pondering the most likely functional items probably exist in 'containables'.  From the inspiration of the Monymusk Reliquary and the Book of Deer  my model chest evolved, which I thought could hold all my Distant Stitch Module sketch books, but it could also made as a smaller container. The Clamshell book cover could be used to just house my Module Two sketch book...of course it may led to making one for each module!!!
I wait to hear Sian's views on what I should attempt.

Further design samples - Fabric and stitch

 The left hand fabrics were used to make the six inch squares on the right which were used to stack and whack as shown in the earlier paper samples.
Ref page 60 a                                Ref page 60b


But as the saying goes  - plans went astray.  Cutting the top row on the diagonal, as per sample 59 b iii, looked a bit insipid and decided to to use both rows to get a better tonal contrast.  I could have rearranged into other patterns but I got hooked on seeing the possibilities in these two design joining in different directions. 
Reg page 61

Ref page 61 The fabric made to do Stage B was larger than sample made on page 56 .  I wanted to get into a larger scale to not only use my sample dye pieces but to see how it felt to work in a larger scale.  


The top section, a combination of bleached samples, 41 c and e, that were then stitched to add textural interest were then added to the bottom section where the muslin sample, 38b, was bondawebbed to calico which added weight and depth of colour .  The surface was then stitched with a white to dark grey ombre thread.  This gavetonal contrast that was random as to what colour of fabric was under the needle when the stitch was made.  
However, did  you get a feeling that the bondaweb may not be a good idea?  Well it made fabric easier to work with but of course the reverse side was not nearly as interesting.   But here goes and the cutting and stitching started.  When reversing seams I stitched down with an ombre thread to cut down the plain calico and inserted piped pieces of fabric to give contrast and directional lines.
The result:
Ref sample page 62

Sunday, 29 July 2012

Further Design samples - Papers

In reviewing work from previous chapters the need to hone in on areas that needed more exploration and fill gaps in design ideas and technique became apparent if there was to be a functional piece of work at the end. 
Exploring the Fibonnacci Sequence and Golden Section had not touched on the use of curves and circles in my design.  So set off to revisit the Golden section by reducing down in size and setting up a sample by using a black work stitching onto embroidery fabric.  This piece was then photocopied and reversed, by printing onto acetate, achieving a series of joining spirals.  Exploring a larger sample to establish a more completed spiral was satisfying and could be used as a singular or as another composite.
Ref Page 55 sample a           Ref Page 55 Sample b
Looking at my papers the need to explore circles with the intervention of Fibronnaci dawned and from that came: an egg out of a circle and then an omelette!
Ref Page 55 sample c  Ref page 55 sample d
With these images touching on the endless possibilities of shapes from patterns and cut the next journey began on further design exercises.
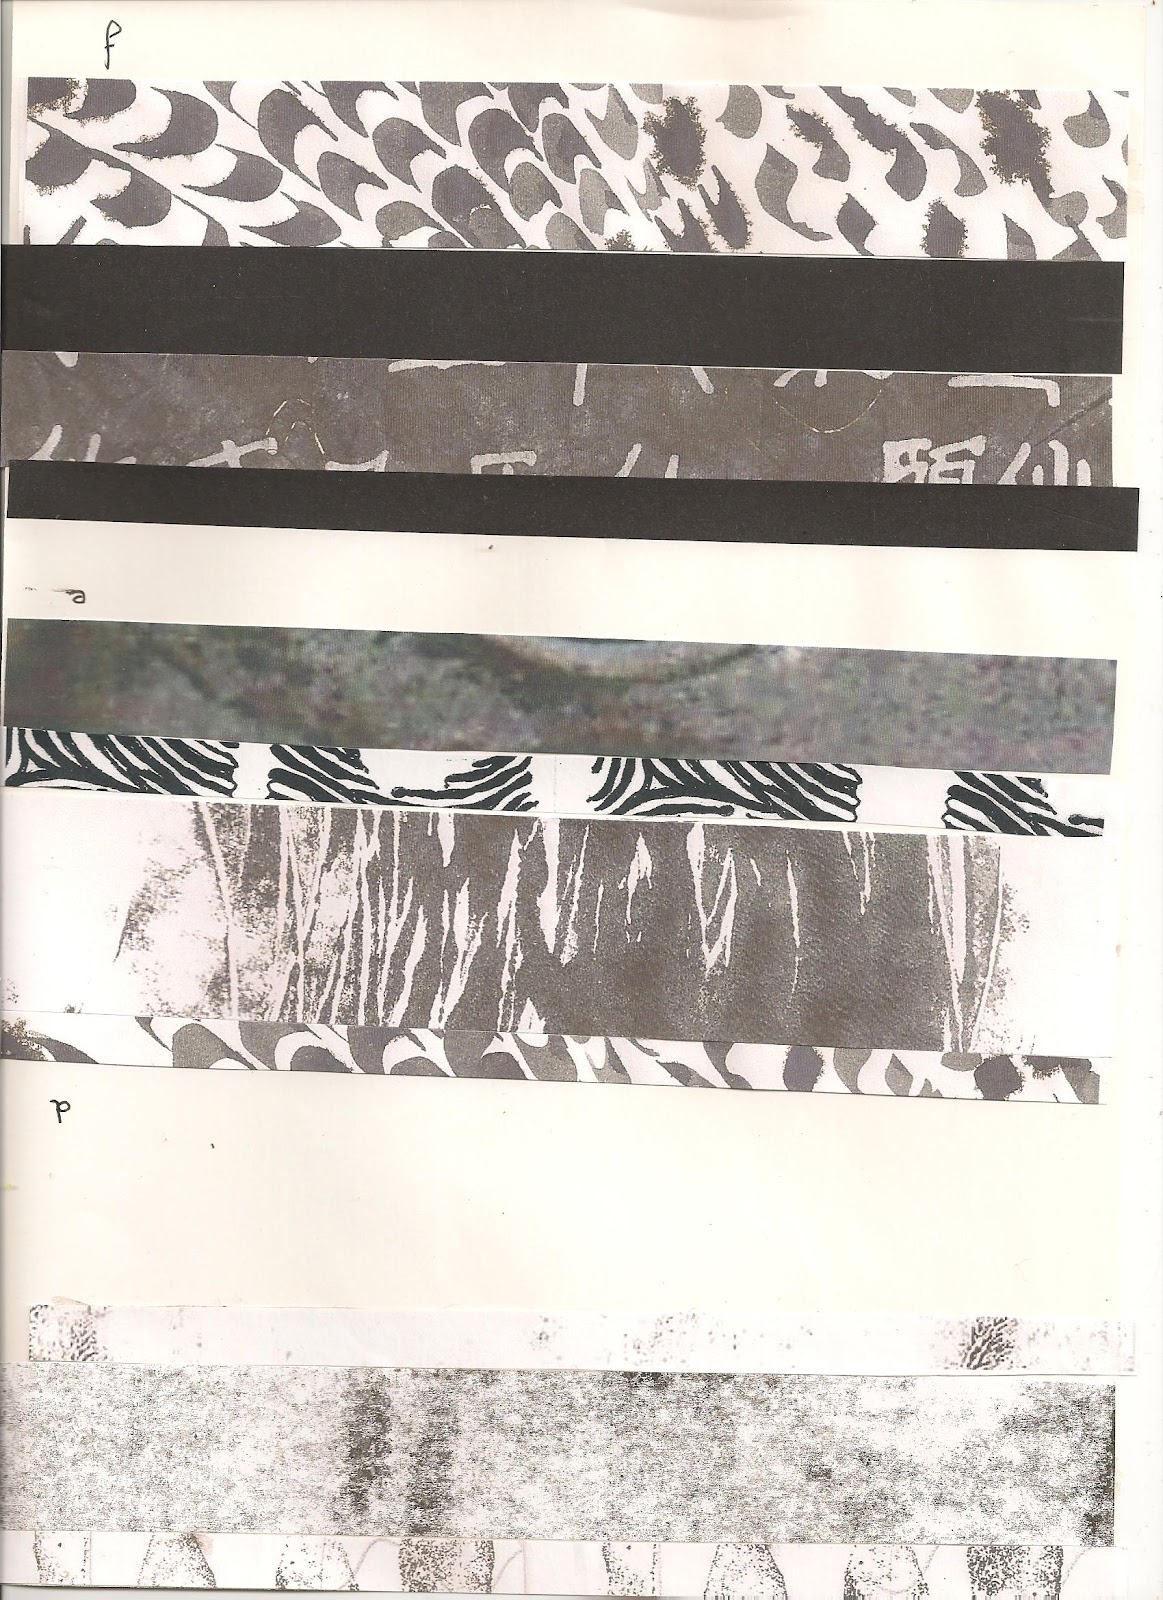
A series of paper strips showing bold and and light patterns and dark and light tones were produced in a series of sizes, the first series were narrow strips:
Ref Page 56 Samples from top: a, b, c Ref Page 56 Sample d, e, f
Ref Page 56 Sample G page from top left  f straight cut, b diagonal cut: 
Top right a straight cut fibronacci b straight cut:
Bottom left b curved cuts, which gave a lunar appearance, see below
Bottom right d triangular cuts  


The second series of samples are from a selection of varying widths which are included in each range of samples beside the following sample shapes and sequences.
Ref Page 57 showing paper A sample i                                                                                                           Ref Page 57 paper A sample ii

  Ref Page 57 paper A sample iii          Ref Page 57 paper A sample iv
Ref Page 57 paper A sample v Ref page 57 paper A sample vi
Ref Page 57 paper A sample vii
While samples v and vi were originally designed to explore circles and spirals it became apparent that a right angled triangle wasn't the best shape and noted that I should try different triangles in the future; this connected with the possibility of using gores to add shape into an item.  Papers B and C below produced their best results in the first cuts subsequent playing appeared more                                                  
Ref Page 58 Paper B                Ref Page 58 Paper C
Squares to stack and whack were produced as the third series. Single patterns were used as well as combinations.
The top row samples were then cut into linear sections and the lower row were cut into triangular shapes


Ref Page 59 Sample a                                                  
                                         Ref Page 59 sample b


The linear sections on the top row of sample b were cut into triangles and play continued:
Ref Page 59 sample b) i
Ref Page 59 sample b) ii Moving into a straight line seemed to lose impact but then Page 59 sample b) iii fish tails or feathers?


The triangles on bottom row of 59 b were then cut in linear format and gaps were left to allow bolder contrast

Ref Page 59 b) iv                Ref Page 59 b) v
By turning the pattern upside down I liked the diagonal and diamond patterns that were formed and considered how these could be highlighted.
Ref Page 59 b) vi
While I could see opposite directional 'arrows' on the middle section that led from the left hand side and into the right hand side and the smaller and larger squares could be considered fish like I felt it may not be a very apparent image!!  Lets hope translating into fabric and stitch will see more progress in image making by play rather than too much brain input!